Worker Node - Quick Start Guide
This guide will take you through the steps of purchasing, setting up and deploying Worker Nodes (WNS).
Subscription
To set up a new Worker node, you will need to purchase a subscription.
To subscribe:
Verify that you are in the VaaS environment of Launchpad by checking the toggle button on the top right. You will easily recognize the VaaS environment by its dark theme

Under Worker Node in the left hand bar, go to "Purchase" and fill in the purchase form
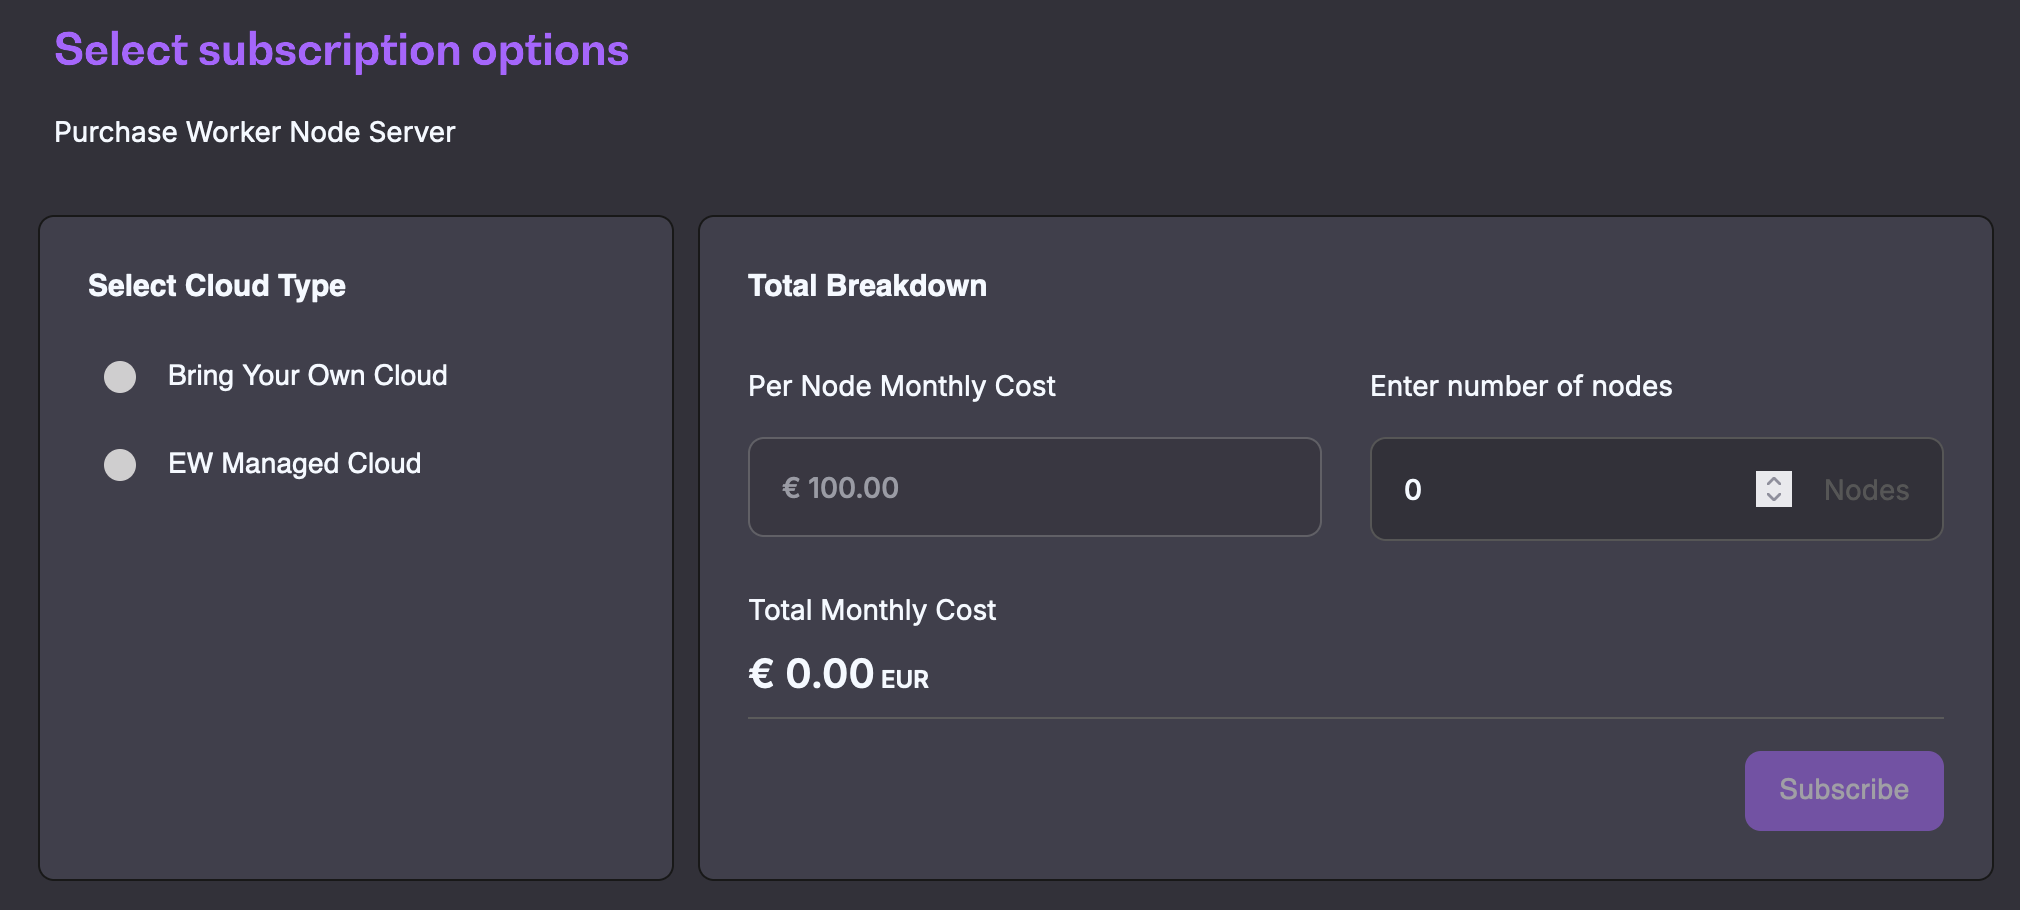
Click on the "Subscribe" button. You will be redirected to the payment page.
Once the payment is completed, you are ready to set-up your Worker Node.
Full Node Deployment Guide
Once you have purchase one or more Worker Nodes, you are ready to deploy them.
Under Worker Node > "Manage", look for "Pending deployments" at the top of the page. You will find all newly purchased Worker Nodes that have not yet been deployed. Previously deployed nodes that were deleted will also show up here.
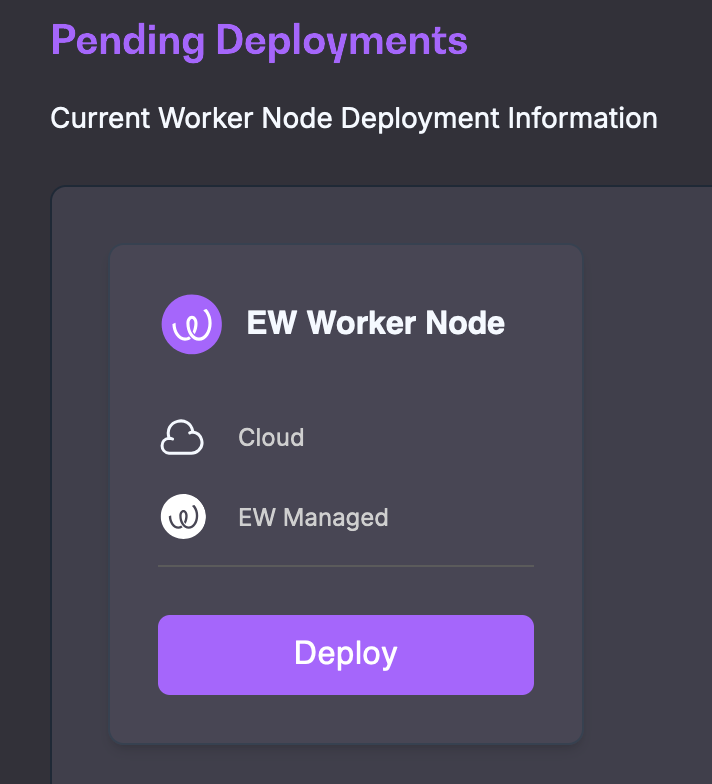
Click on "Deploy" to start setting up your Worker node
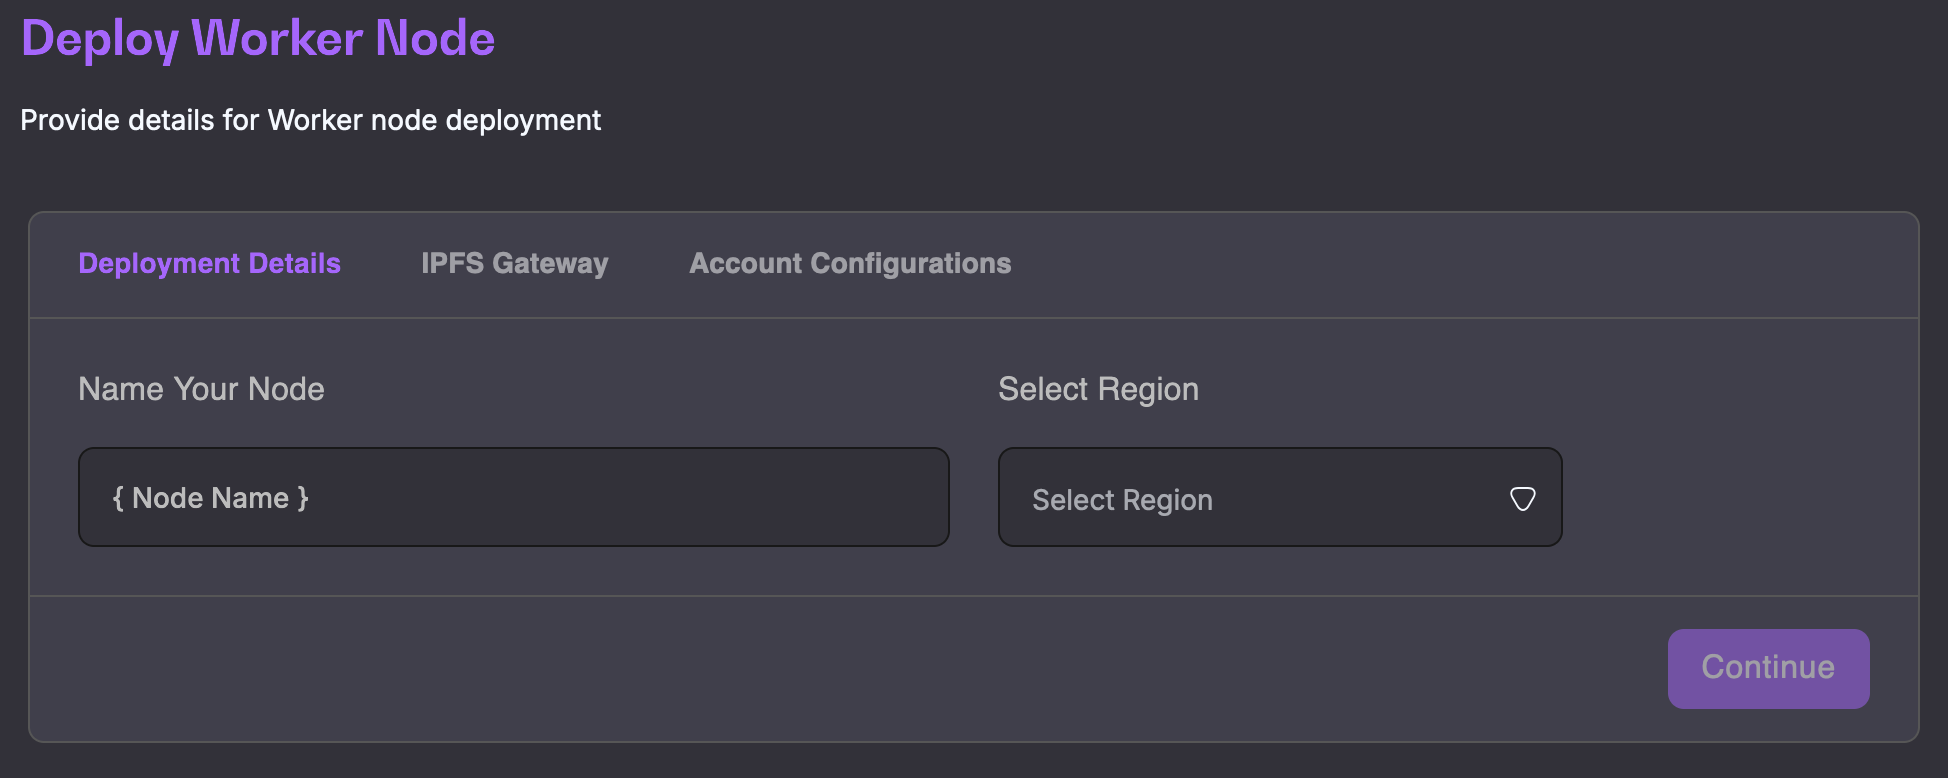
The first step required is to fill in the basic Node details: Name and Region. The name should have a minimum of 6 characters and can contain spaces.
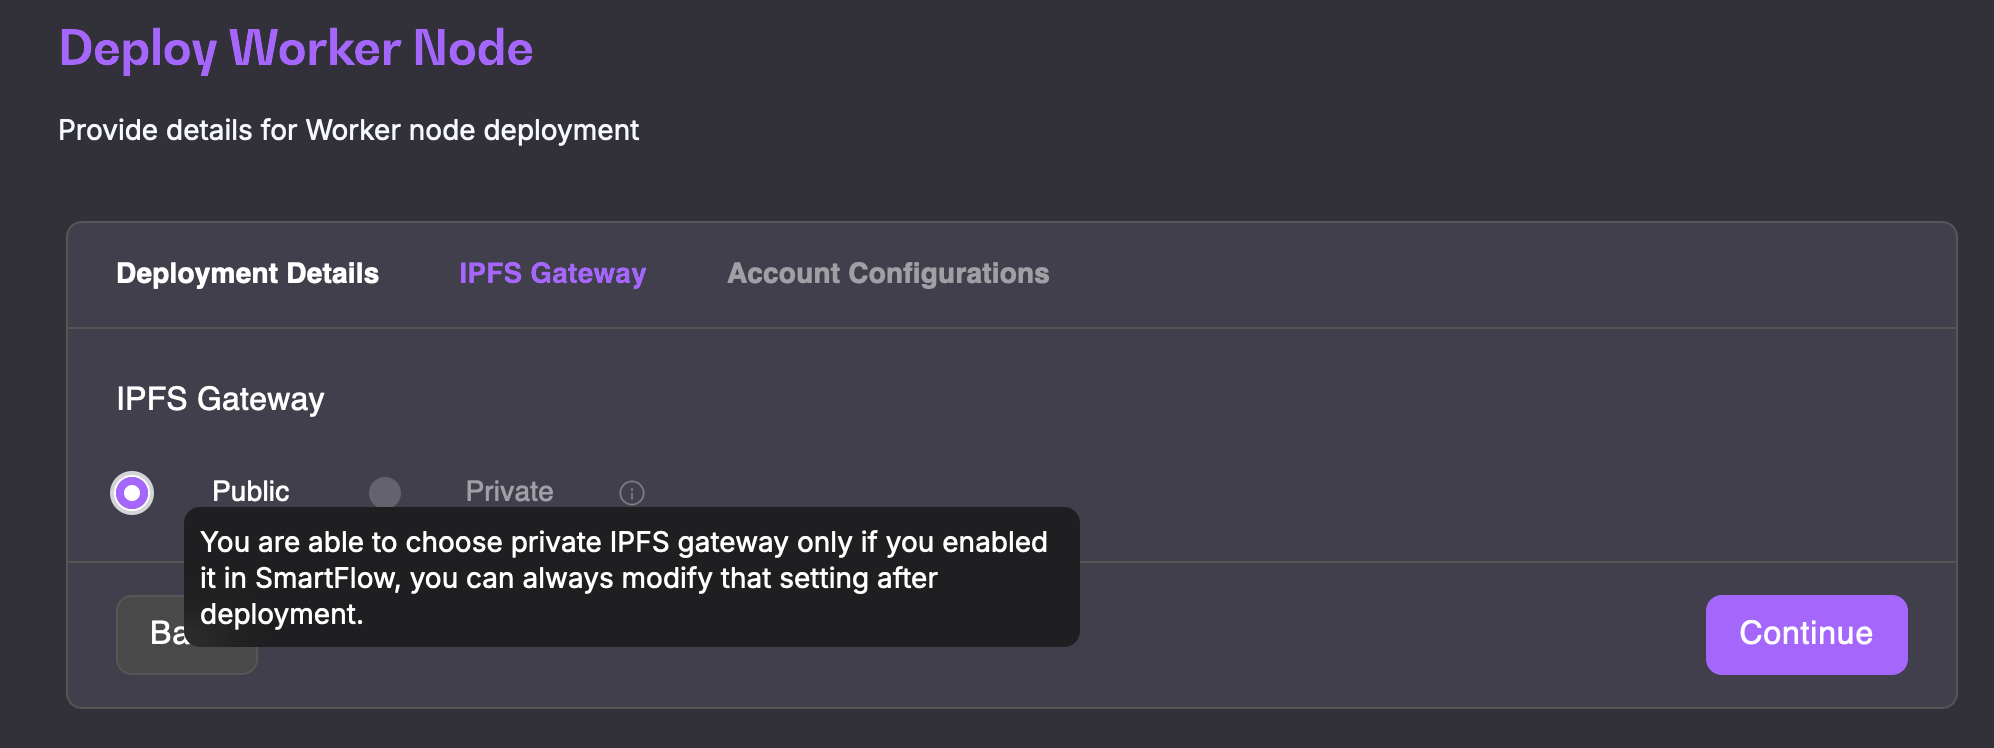
The second step is the IPFS Gateway. By default, you are always able to choose a Public IPFS gateway. Private and BYOC (bring your own credentials) for IPFS support will come in near future. Note that you can deploy your node with a Public gateway and change that setting in the future.
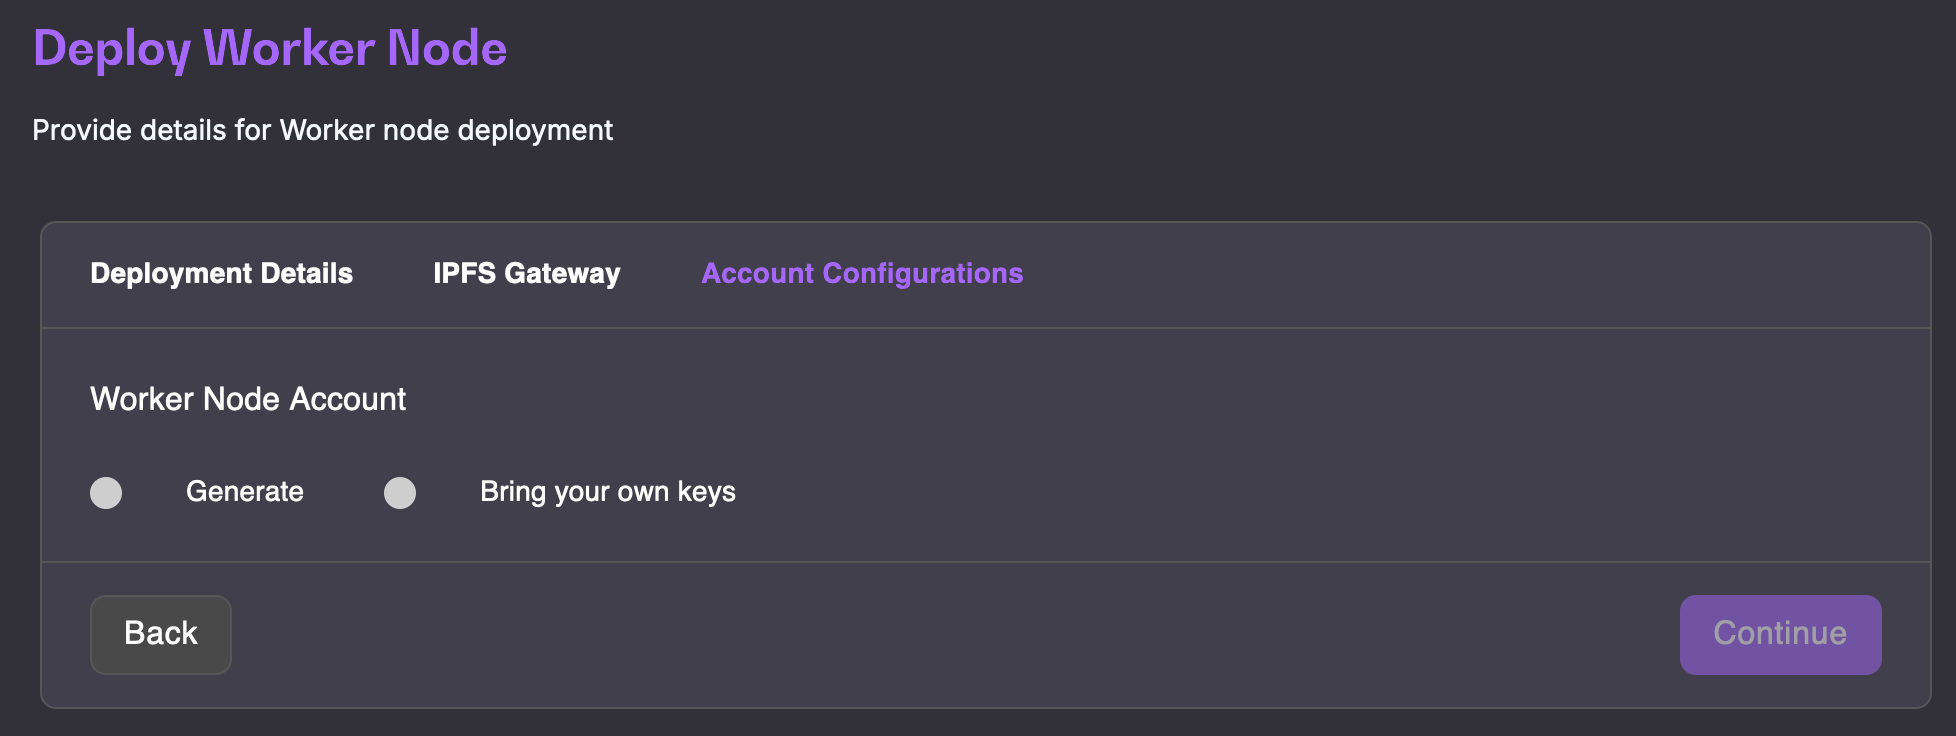
The third and last steps asks you to configure your Account. You can do that by either bringing your own keys should you already have an account you wish to use, or generate new keys. To bring your own keys, you will need the 12 words seed phrase. The account keys can be re-generated or imported even after deployment. ****** Side note - if you already have a running worker node behind marketplace desktop app, you can use the same Worker Account here as the one that you use on your local environment. Just remember to pause your Marketplace app worker engine after the set-up here is completed. You can always remove Launchpad Worker Node and re-enable Marketplace app worker at any time. Both workers can be enabled at the same time temporarily, but it will cause them to compete against each other and might cause unpredictable voting behaviour, hence this is not recommended. ******
Click Continue, you will be offered to be redirected to your Manage page.
Your newly deployed node will show in the Worker Nodes table with the status "Requested"

After several minutes, you will receive a notification regarding the provisioning of your Worker node, and its status will change to "Provisioning". You can already access your node details via the "i" icon on the right of your node overview.


Within 15 minutes, your node will switch to the "Ready" status and you will be notified
After your node is properly set-up & provisioned, in details page you should see green "Running - waiting for Subscribtion" - which indicates that Worker Account configured for that worker should be still linked to Operator Account. If you have used Worker Account that was previously linked to an Operator Account you should see "Running" status.
Linking Worker Account to Operator Account & Operator Console
Once your node provisioning is completed the remaining actions should be conducted either by Marketplace App/WebApp or directly with chain interactions.
To innitiate Marketplace App/WebApp based Worker Account <> Operator Account linking, go to Worker Node details page, and click "Open Operators Console".

Once oppened, choose desired option and proceed with accounts linkage.

Full instruction on how to Link Operator and Worker account Using above options is provided here . This concludes necessary actions that should be taken on Launchpad side, the remaining operations should be conducted with Operators Account using any of the available Marketplace app options.
Last updated