Collator node - Quick Start Guide
This page will guide you through the steps of purchasing a Collator node subscription and setting up your node. You cannot set-up nodes on Launchpad without an active subscription.
Subscription
Purchasing a subscription is the first step to setting up your Collator node(s) on the Energy Web X Parachain. Follow the steps below to subscribe.
Login to Launchpad with your account or create an account
Switch to the VaaS environment of Launchpad using the toggle on the top right of the Launchpad screen.
Under Node in the left hand bar menu, go to "Purchase"
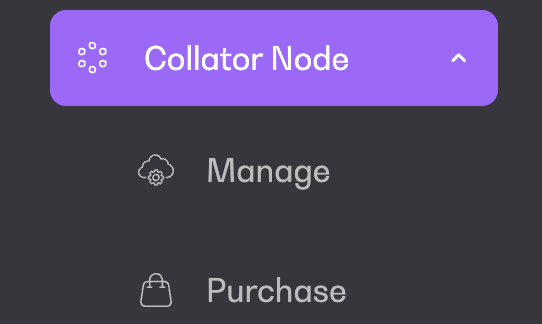
Currently, you can only purchase a Collator node with EW managed cloud. Chose the number of nodes you would like to purchase.
Validate your choice by clicking on "Subscribe". This will take you to the payment screen.
Once your payment is validated, your subscription is active and you can start setting up your nodes.
Collator Node Creation and Deployment
Once your subscription is active, follow the steps below to set-up and manage your nodes.
Under Collator Node, go to "Manage". You will see your purchased bundle of nodes that are ready for deployment.
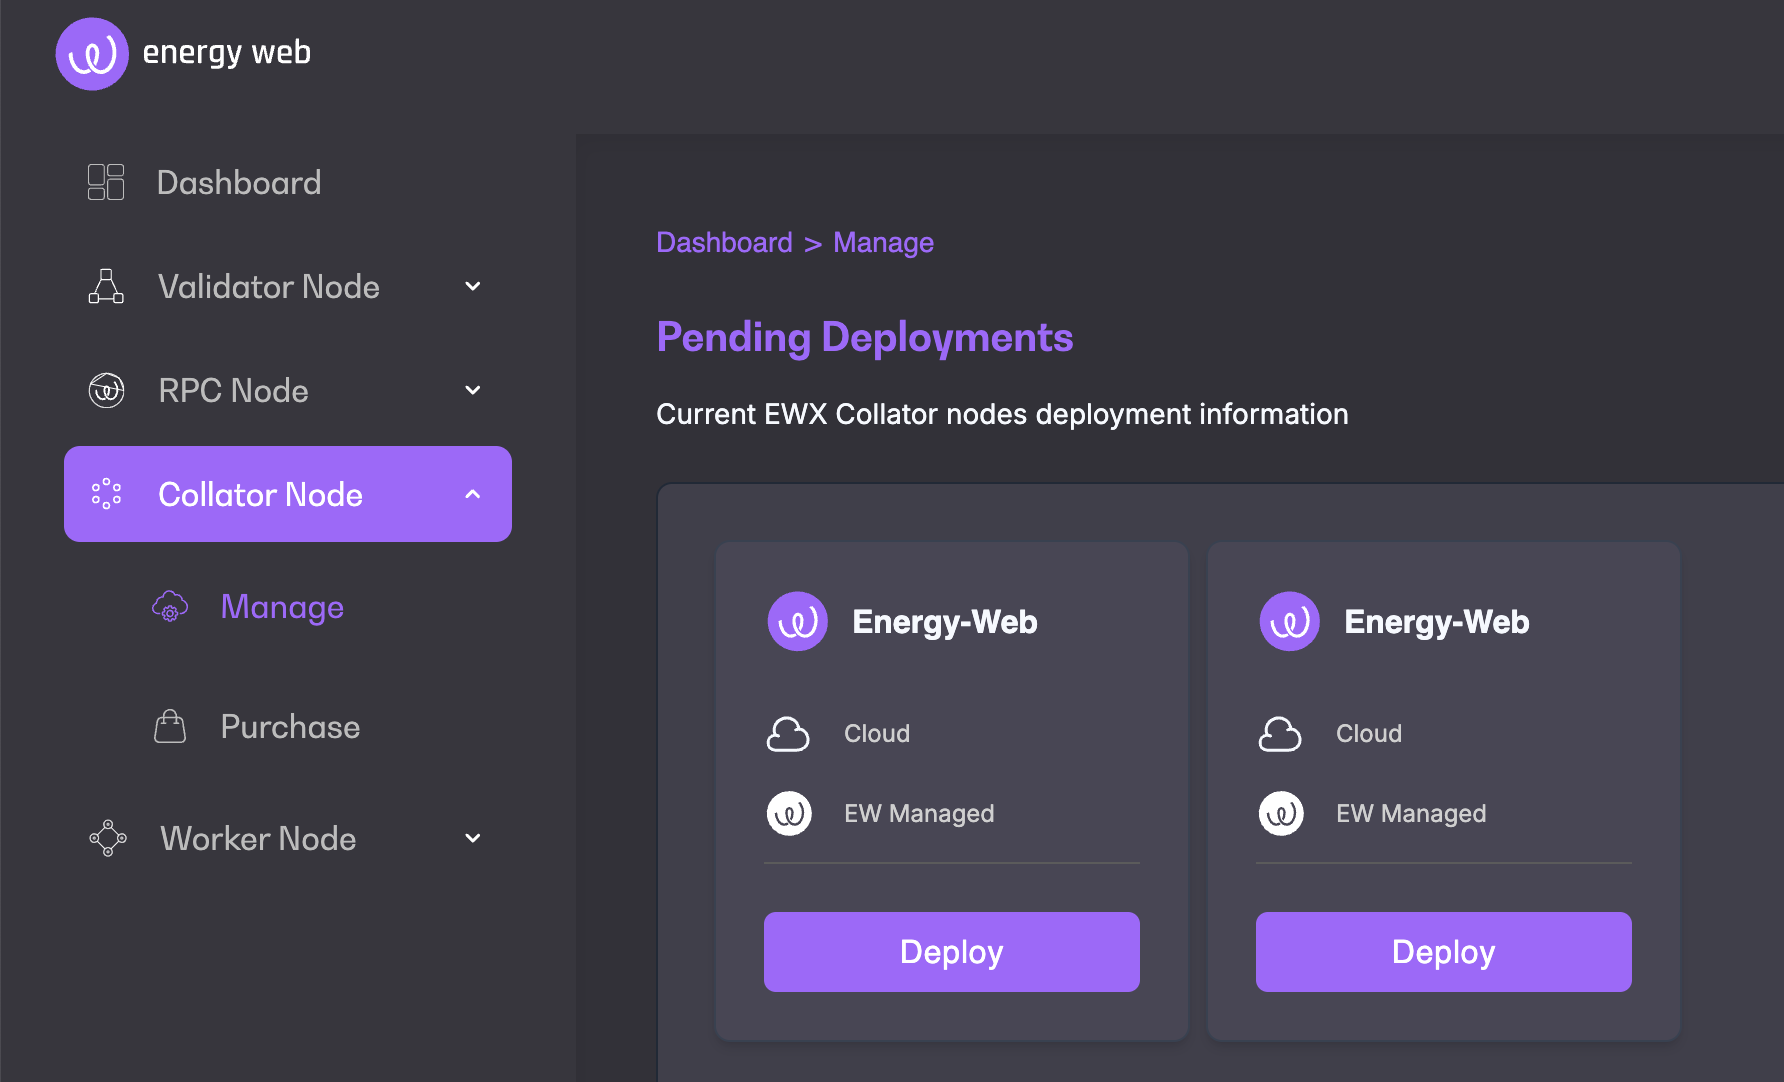
Click "Deploy"
Fill in the necessary configurations details and go to "Deploy"
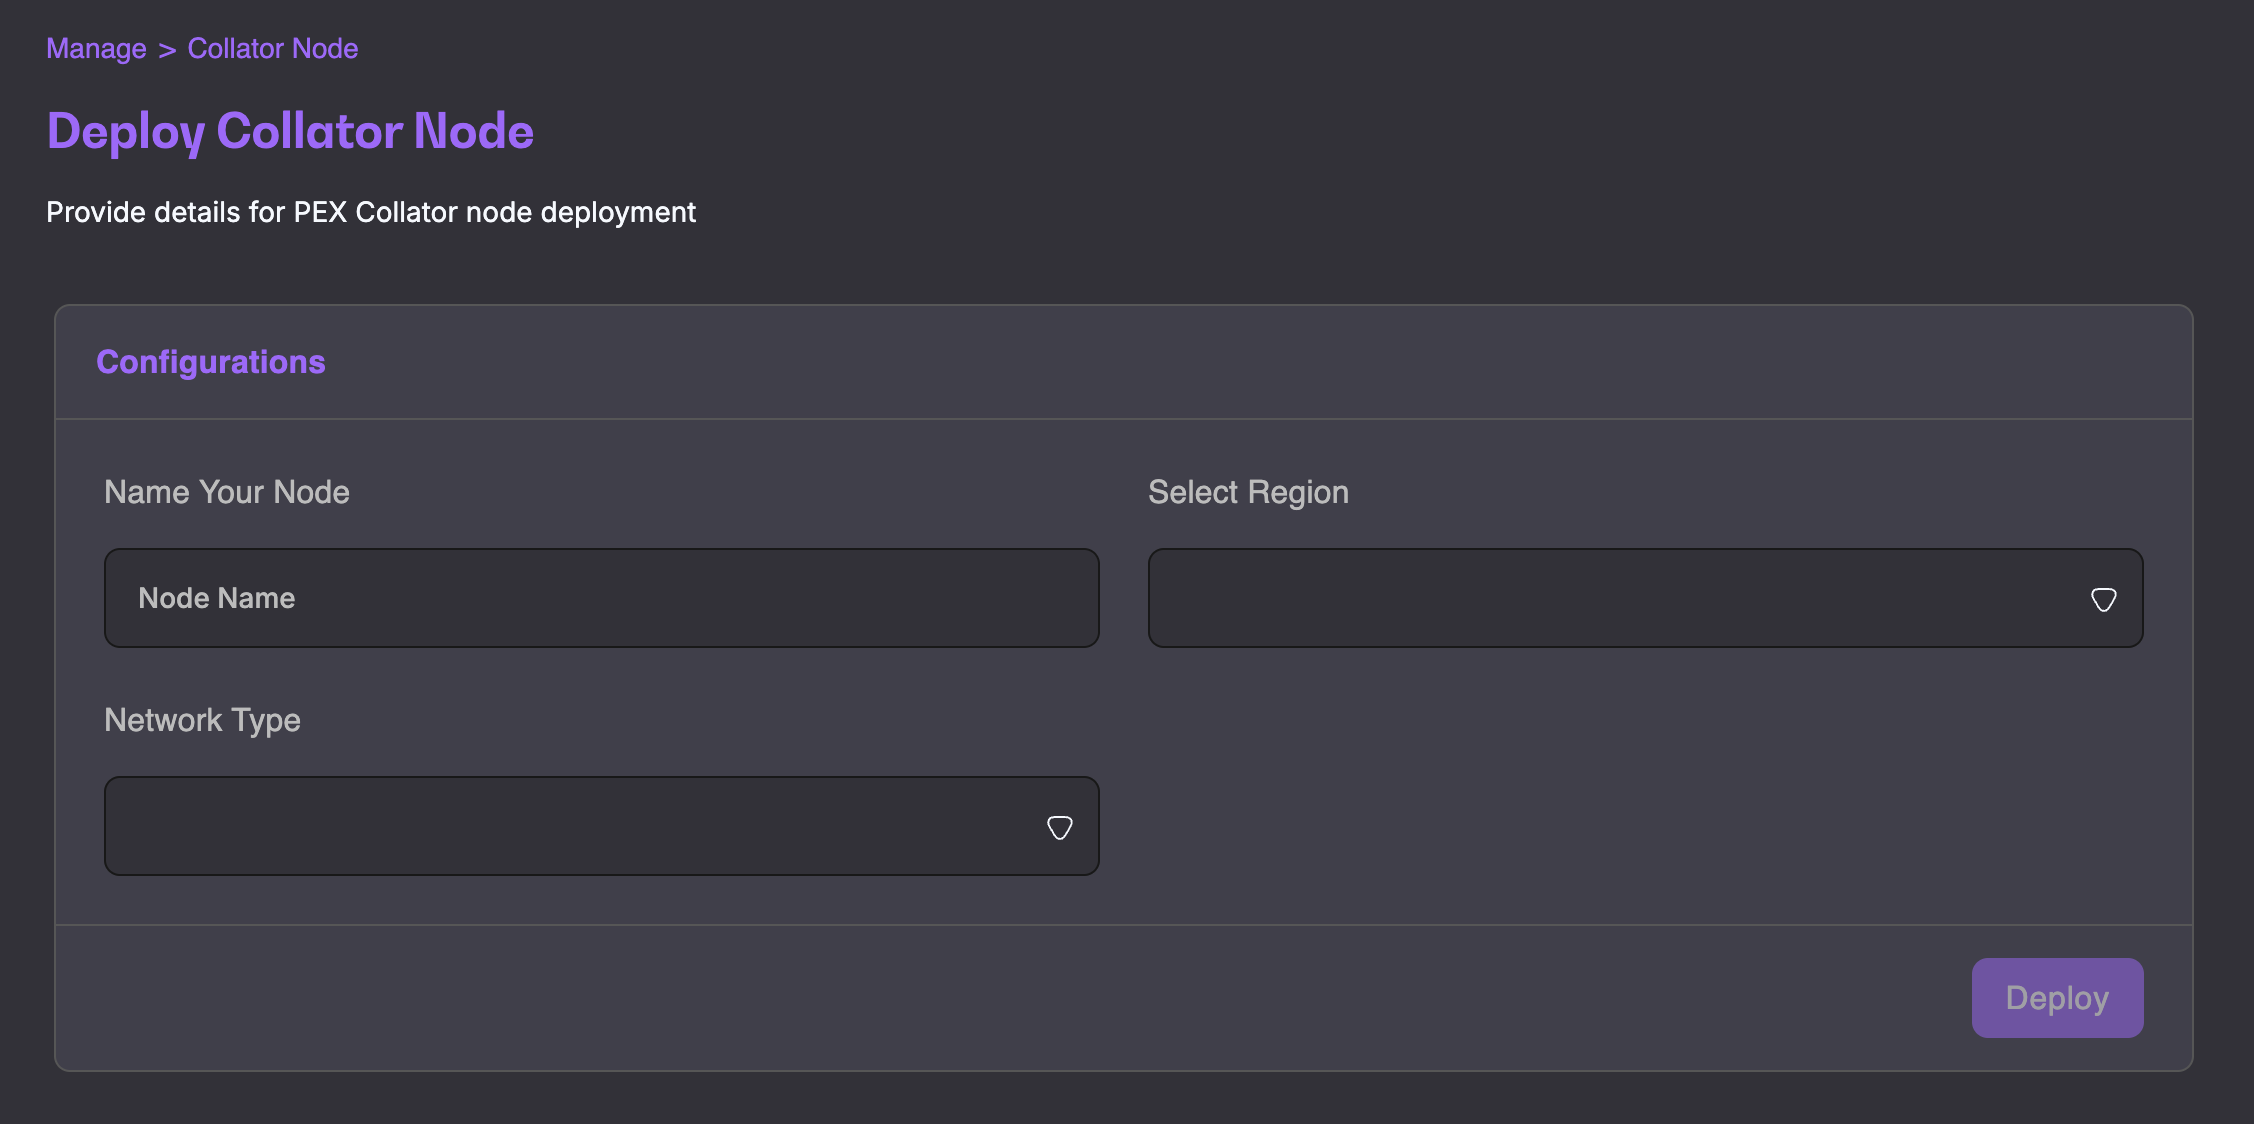
You will find your newly deployed node under Collator Nodes by clicking "Manage". It can take up to 48 hours for the node to sync.
Once your node is deployed, a request for IP whitelisting will be automatically sent. You can kick off your Collator node's onboarding into the EWX parachain once the IP was whitelisted.
Collator node details
You can access more information about your collator node details by clicking on "View Details" when in the manage view.

This section will include all general and specific details about your node and will allow you to kick off and track onboarding.
The onboarding status is an indication of the stage of your node's status on the EWX parachain. The status are as follows:
Pending whitelisting: The request for IP whitelisting was sent and is pending. Once the IP of your node was whitelisted, you will be able to start onboarding your node on EWX.
Ready for onboarding: Your node's IP was whitelisted, you can kick off the onboarding onto EWX by clicking "Start onboarding"
Onboarding: Your onboarding request was sent and is pending
Ready: Your Collator node was onboarded onto EWX and is now active
Collator Node onboarding
Once your node's IP was whitelisted, you can kick off the onboarding for your node by clicking "Start Onboarding" under the About section of the details page.
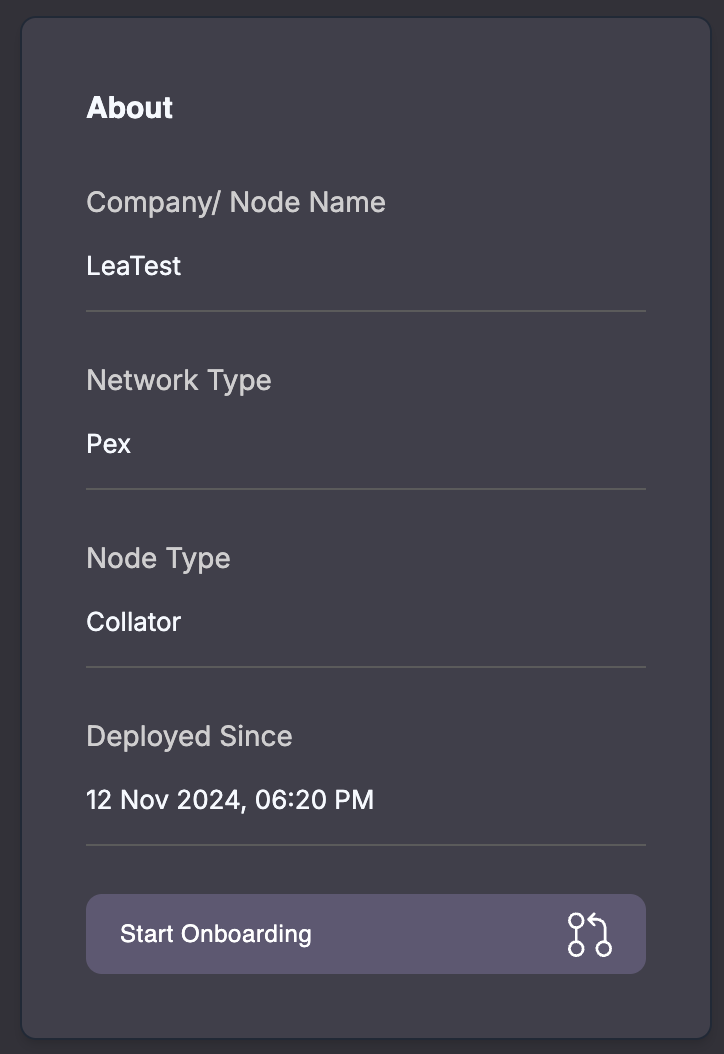
You can choose between Manual onboarding and Automatic onboarding.
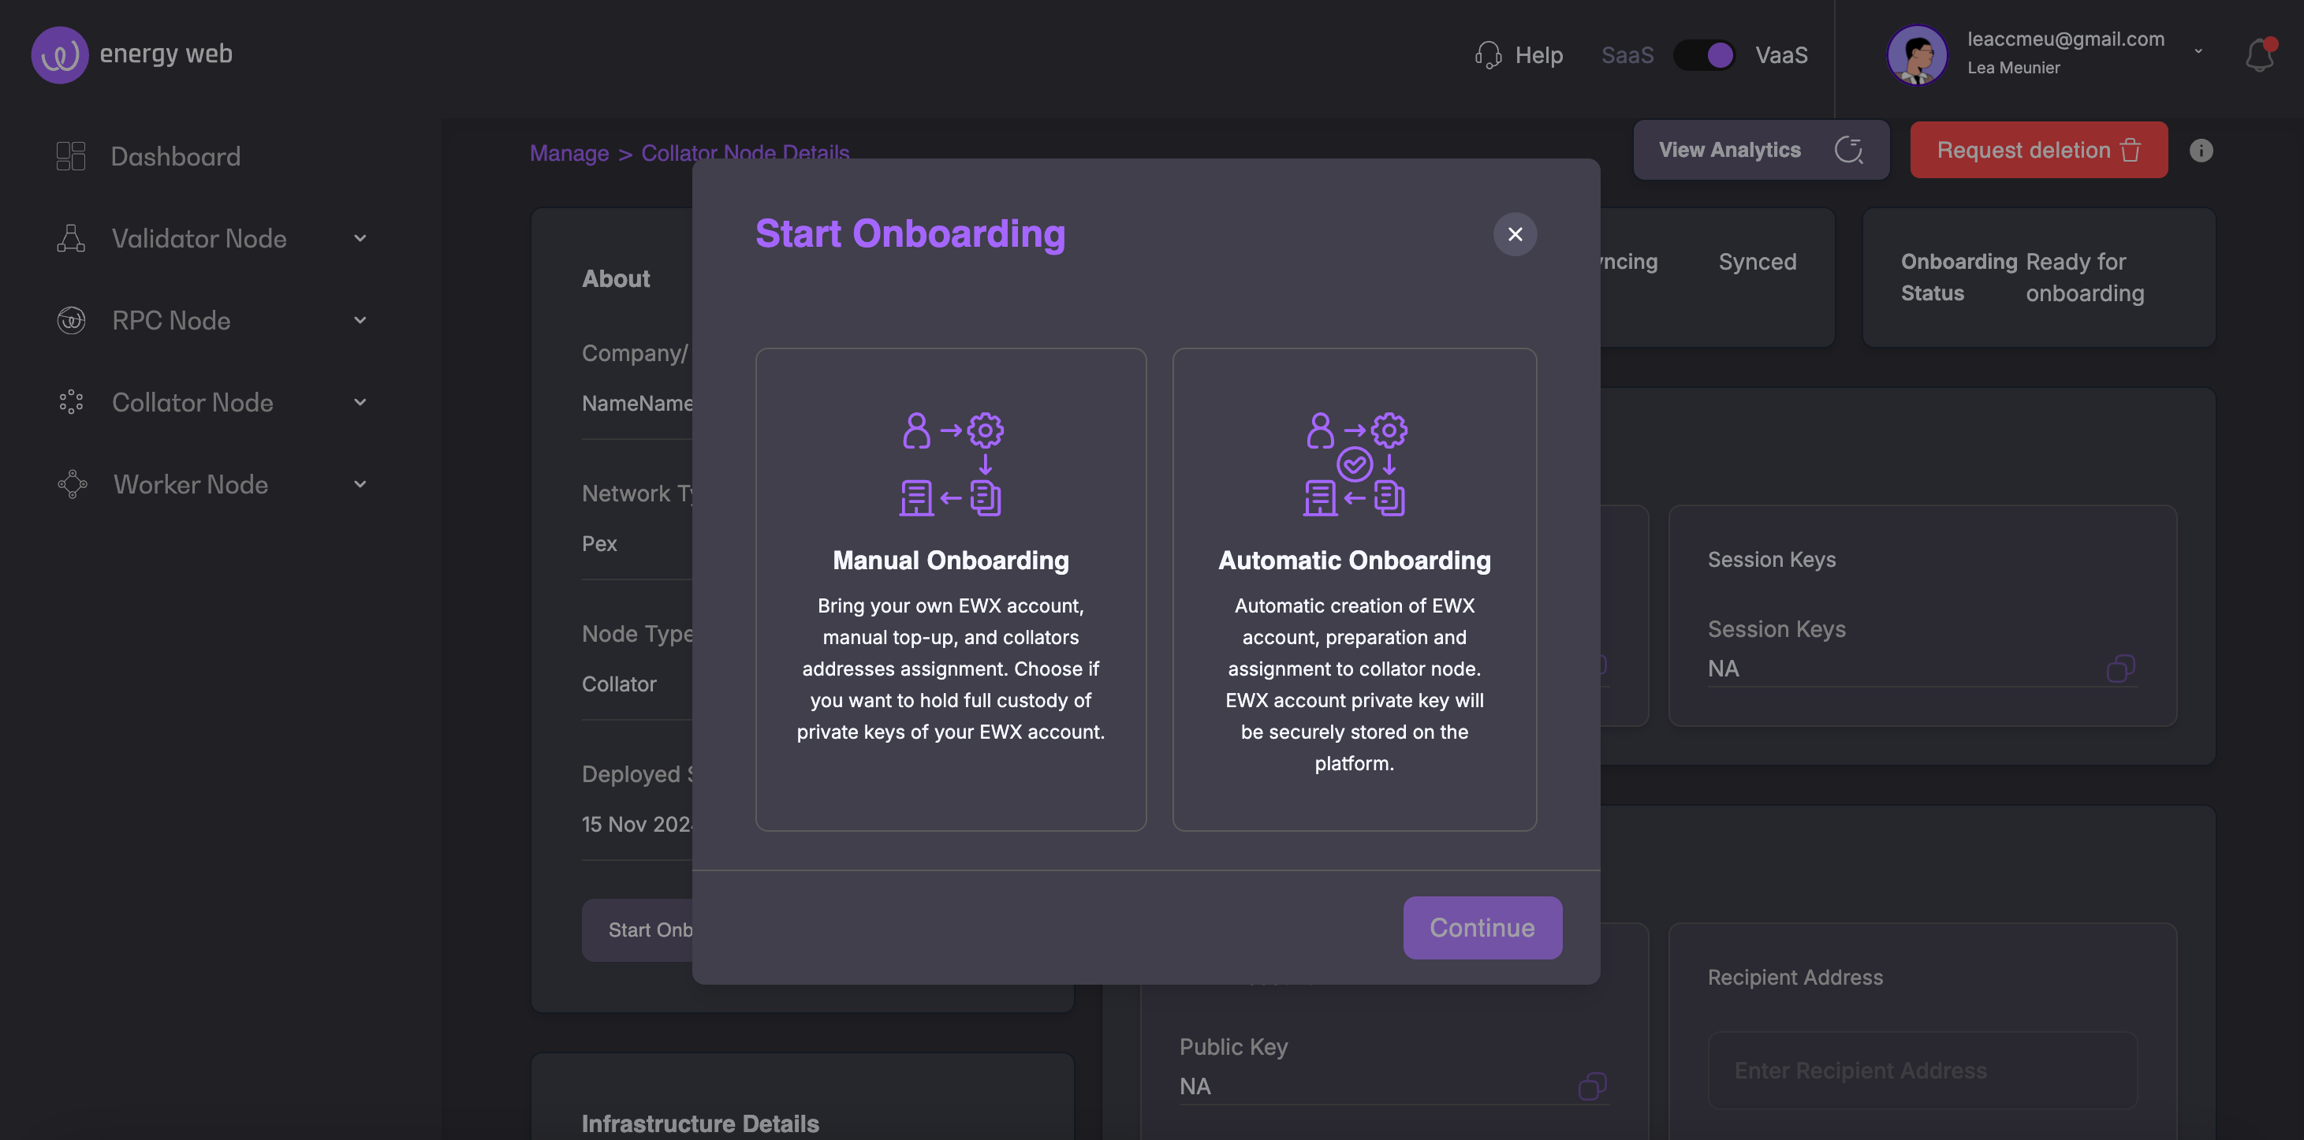
Automatic onboarding
With the Automatic onboarding, all the necessary steps will be automatically done by the Launchpad platform, allowing you to get started immediately with your Collator node.
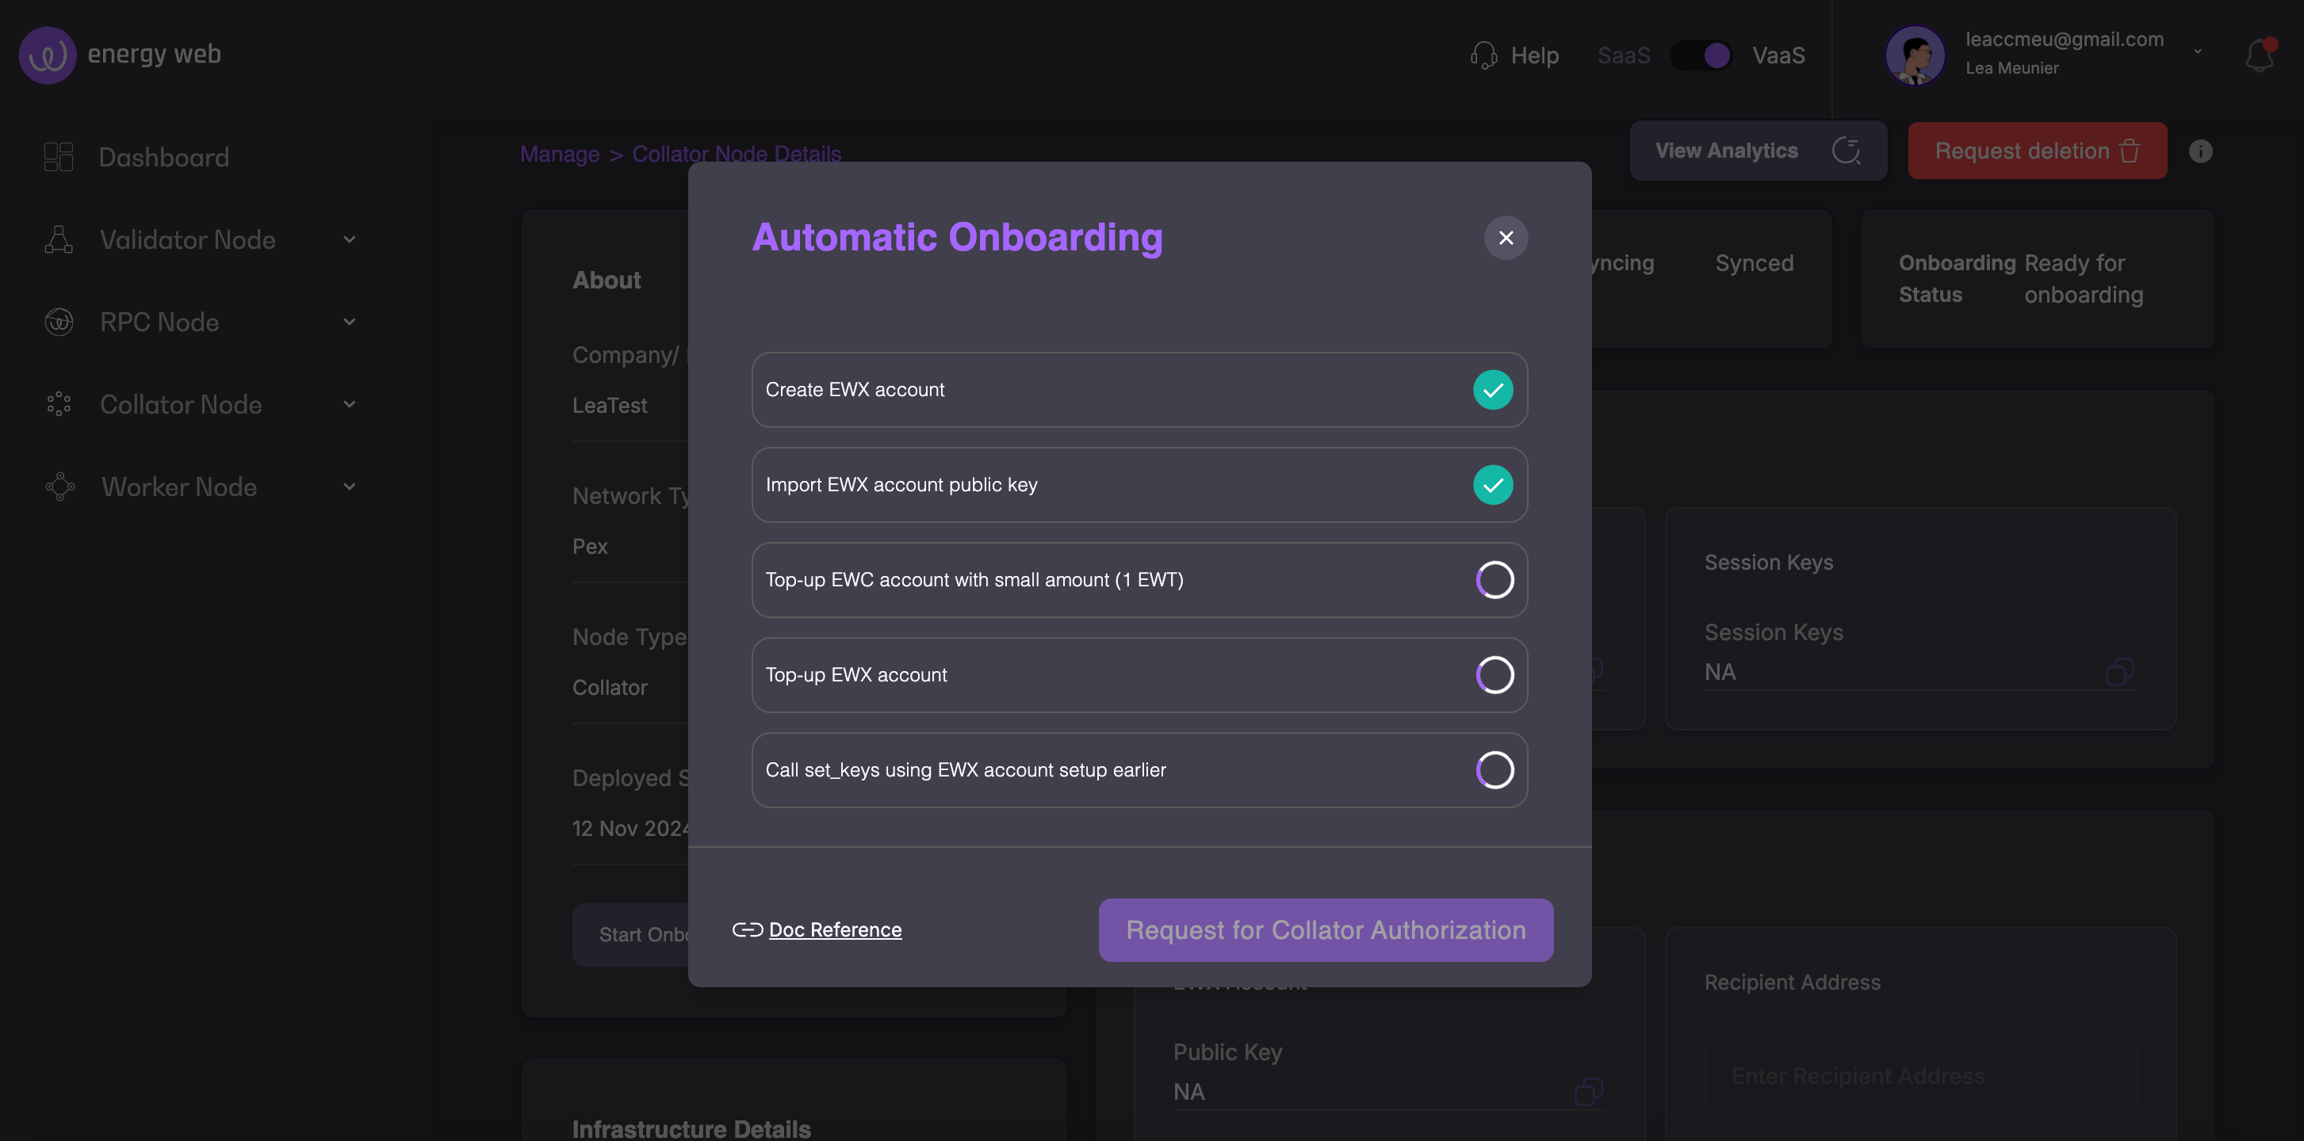
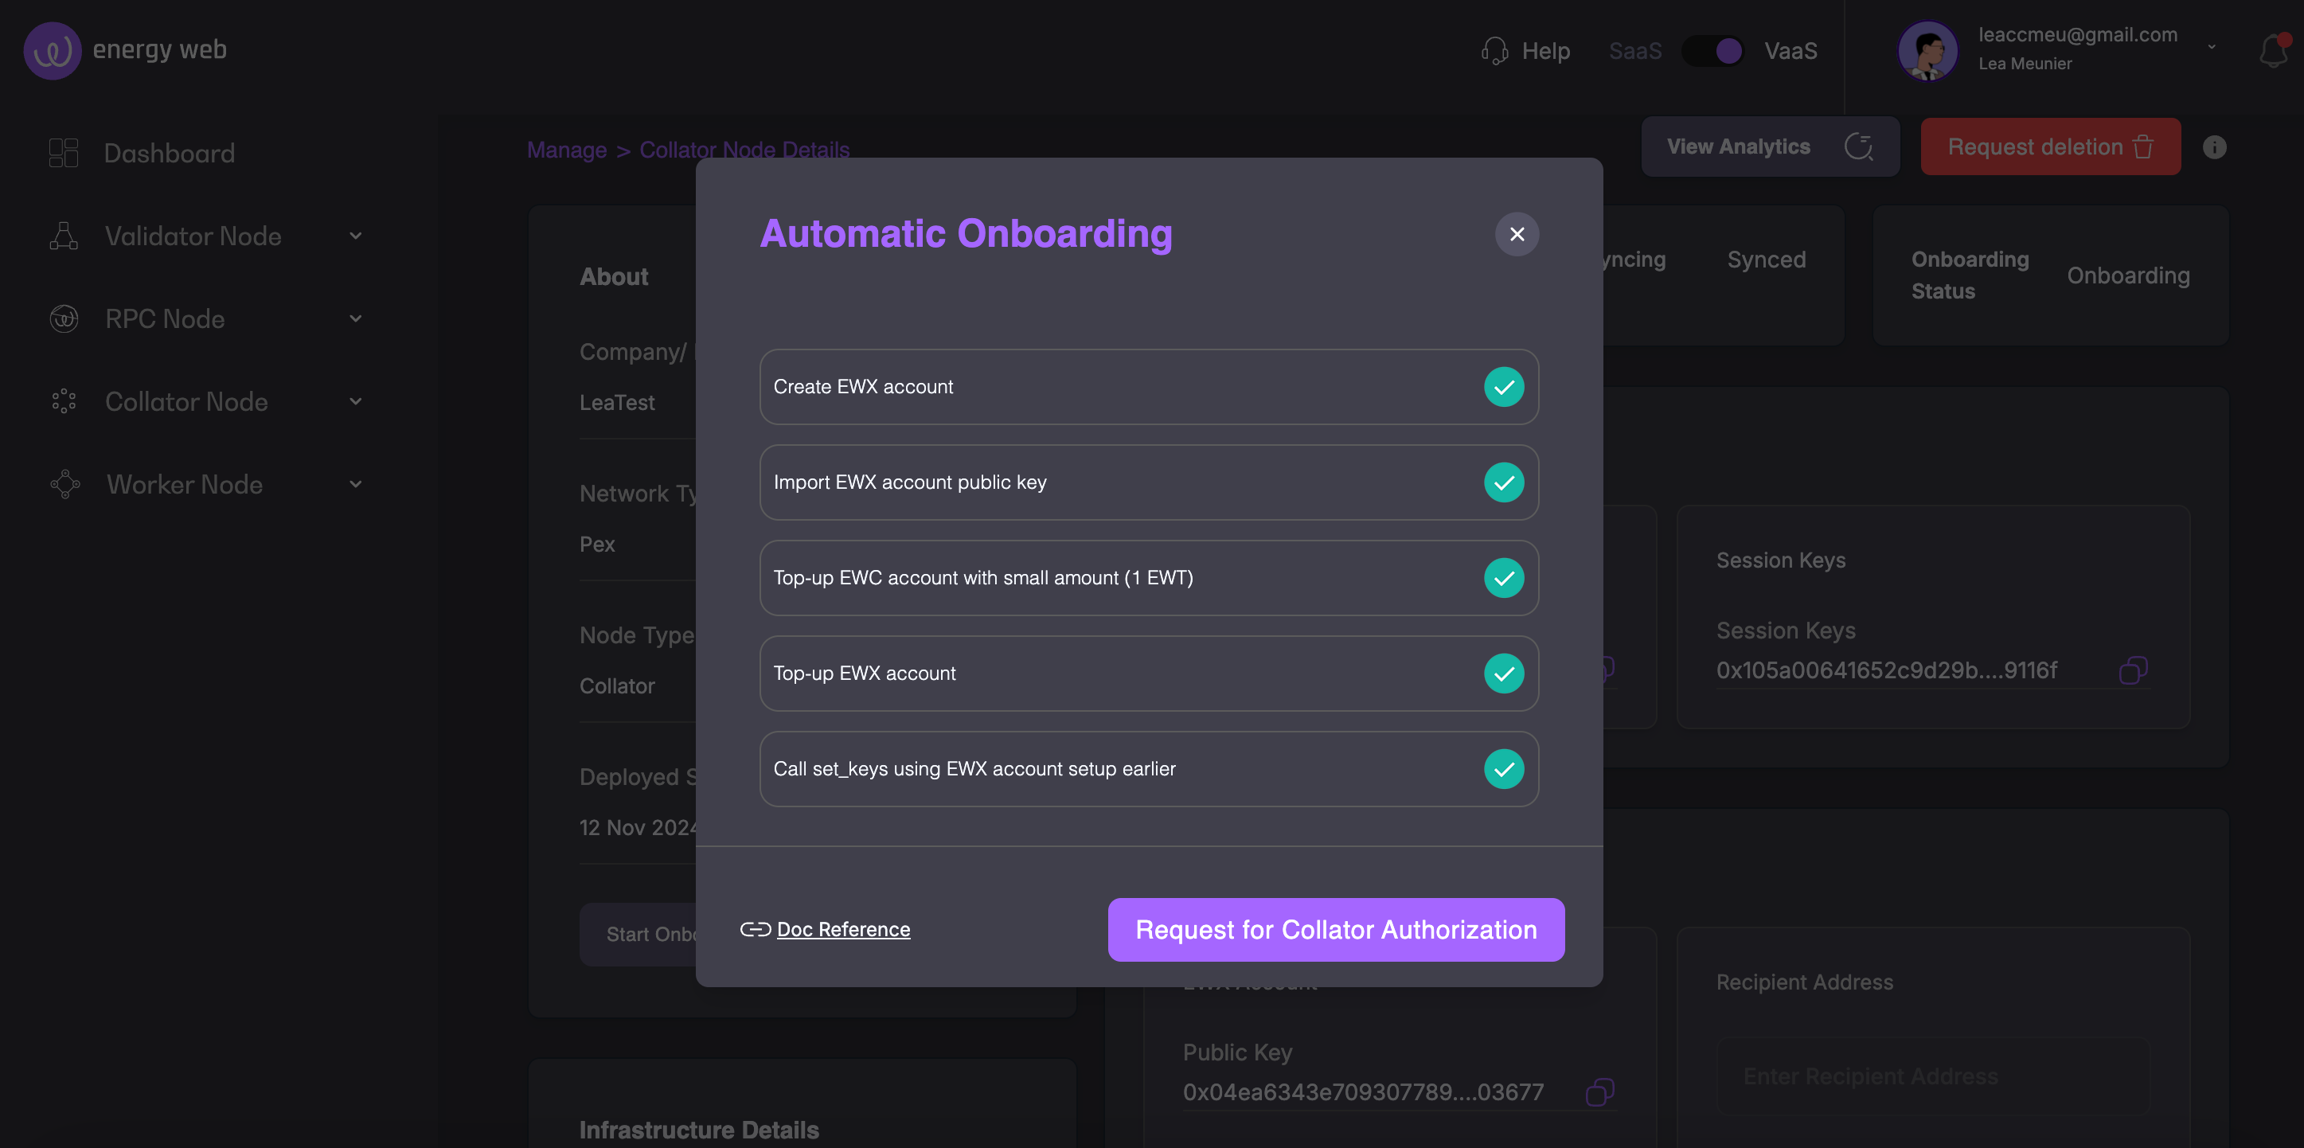
Once the steps are completed, you can click on "Request for Collator Authorization". You will be informed via email when your Collator is ready and the Onboarding status under the details screen will change to "Ready".
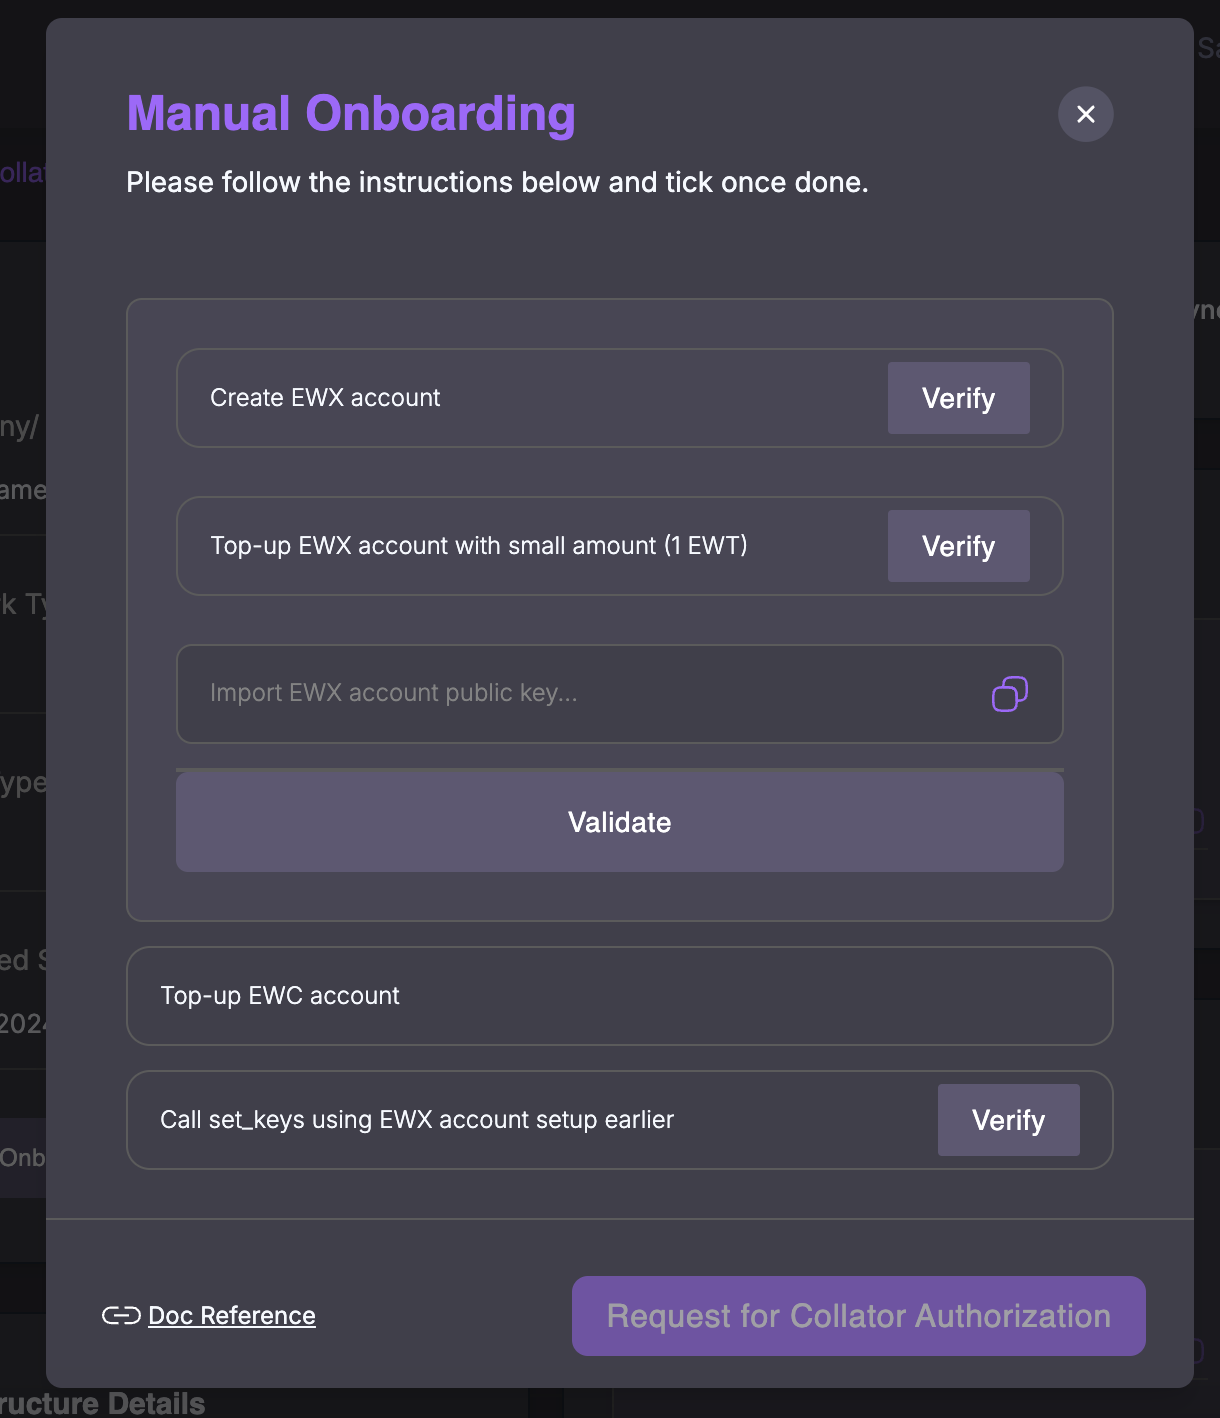
Manual onboarding
With the Manual onboarding, you will need to follow each step and take action manually. Some steps are still automated and you will be provided guides for each manual step.
Analytics
The analytics will provide in depth information about your Collator node's activities and health. You can find them by clicking on the "Monitor Node" button under "Manage", or via "View Analytics" in the details page.
