Loading...
Loading...
Loading...
Loading...
Loading...
Loading...
Loading...
Green Proofs as a Service allows green start-ups and enterprises alike to create Proof of Concepts for demonstrating emission reduction savings through the creation of ready-to-go registries.
You can configure your registry to accommodate your requirements and you don't have to be a developer to do it.
Examples of emission savings products include:
Sustainable Aviation Fuel ( marking the difference between regular fuel and low emissions fuel)
Maritime Sustainable Fuel ( marking the difference between regular fuel and low emissions fuel)
Green Proofs for Bitcoin ( demonstrating the use of renewables vs fossil fuel energy)
Your next project can be showcased here.
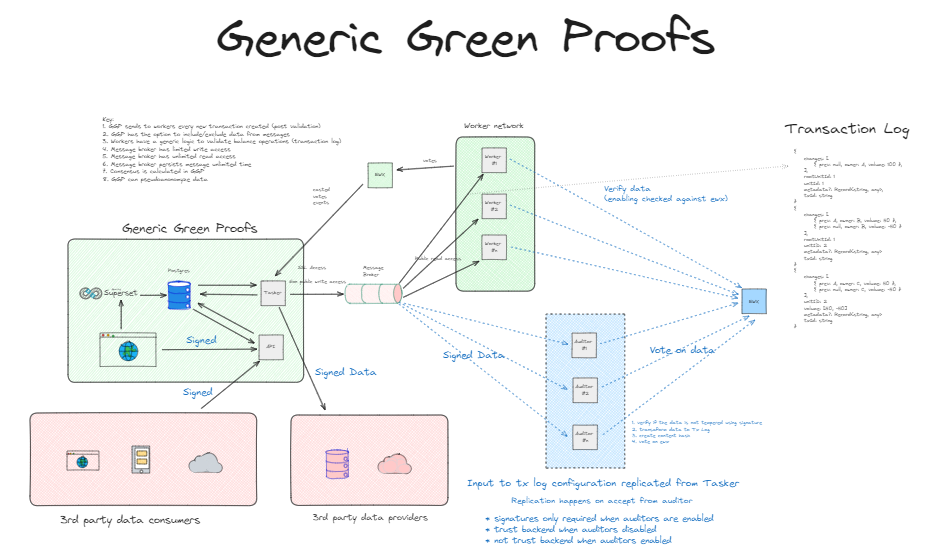
To see how it works you can go here or see the of all functionalities (both configurable and inside the platform) or consult the technical diagram below.
Green Proofs as a Service is now available for companies of all sizes to use. The main benefit and goal for it is to have an independent platform assessing emission reductions that happen through a product, a service or process. So far we have built use cases for the aviation industry in alternative fuel usage, as well as the emission savings caused by the usage of low-emission fuel in the maritime industry. You can check out more information related to that
The main advantage of using GPSaaS is that you can test proof of concept at a fraction of the cost and time of what would otherwise take, and brings you closer to a decision in terms of a full-fledged platform.
It takes less than 10 minutes to create a registry using the customization flow!
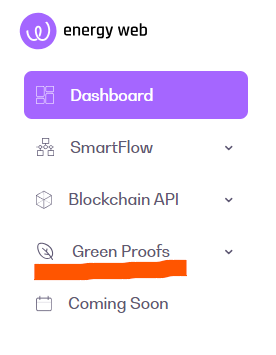
You can use the GP SaaS solution, by going to the launchpad application and click on the Green Proofs button on the sidebar
There are two major areas that you need to have in mind when creating the Green Proof Registry using our service which we will dive into separately:
The functionalities that any registry that you create offers
Customization of the registry through the service itself (with more and more of the registry becoming customizable in the future)
To access the registry creation you will first need to subscribe to one of our tier subscriptions. If you are a member, this service is free for the first 2 months, and if want to have a demo of the platform before subscribing, we are more than happy to provide you one by writing a request.
Feel free to provide any suggestions or feedback at with the title "GPSaaS Feedback/Suggestions".
Every registry that you will spin out will have a minimum amount of functionalities that are available for you to use.
Congratulations, now that you have created your registry, you can benefit from the functionalities already available on the platform, so that you can start testing your idea.
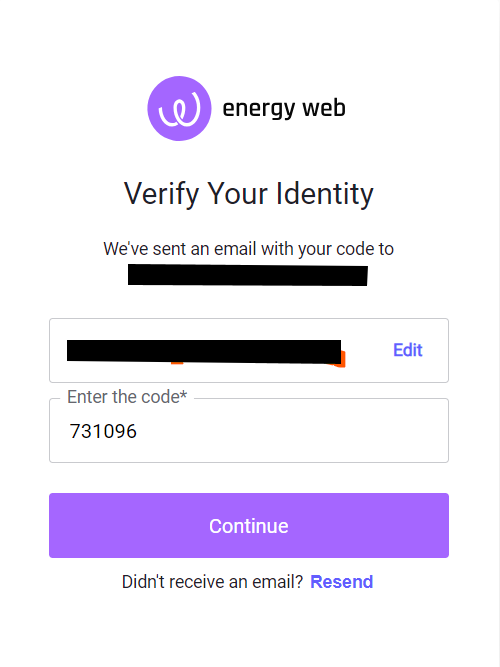
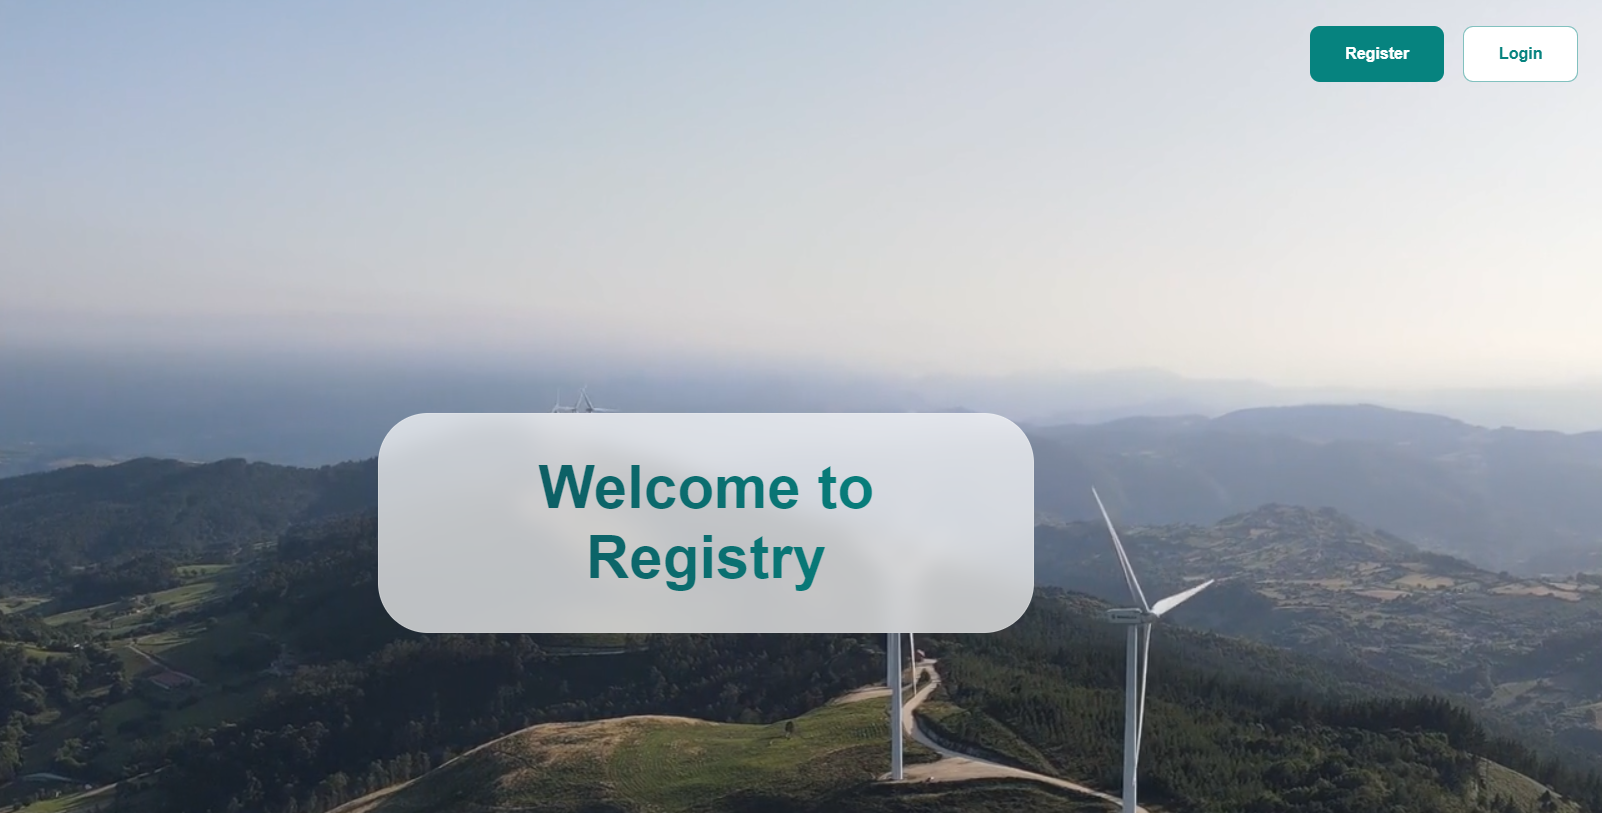
From this point on you have two options that you can take registering and login. You can start by logging in on the platform with the designated email address for the registry admin role.
The login is using the email and a code is generated via your email to allow you to log in onto the platform.
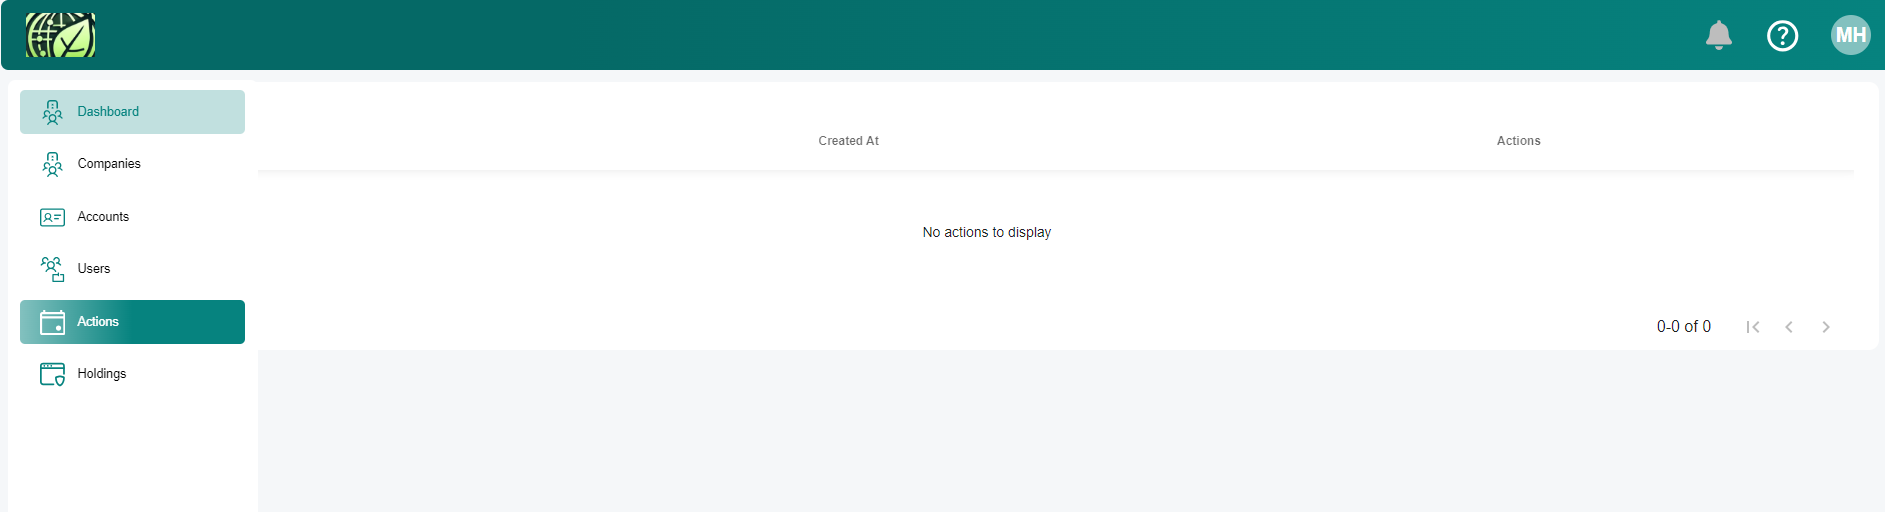
After logging in, you can see the full registry in motion with the following categories:
Dashboard: Main companies and accounts view
Companies: The list of all the companies registered on the platform
Account: Each company can have multiple accounts and account types (soon), which can be differentiated based on the functionalities available for each of them
Users: People who are using the platform. They can be part of accounts - Account Representatives or Company Representatives.
For the top navigation bar, you can see the following elements:
The logo that was chosen for the customization part
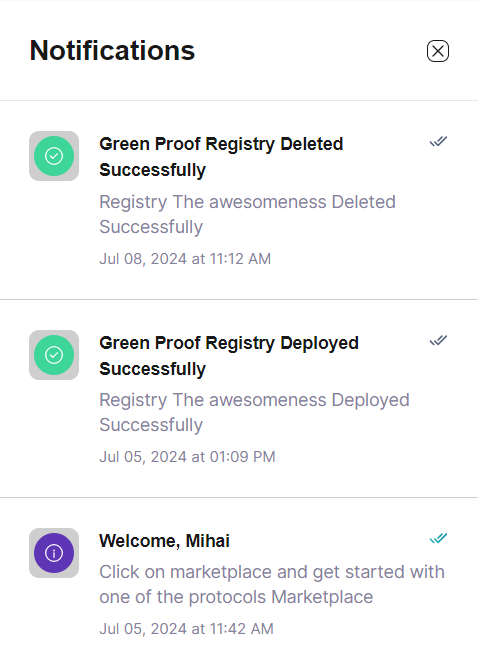
The bell shows notifications of the actions that are pending
The question mark: is the customer support feature for the end users, if they encounter an issue or have a suggestion
Actions: If a functionality requires an action from any of the actors (receiving a certificate, signing a process by the Registry Admin, it will be displayed in this tab)
Holdings: This is the main table, where you can see the certificates in various states (active, pending, history tabs).
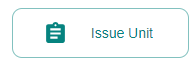
Issue Unit
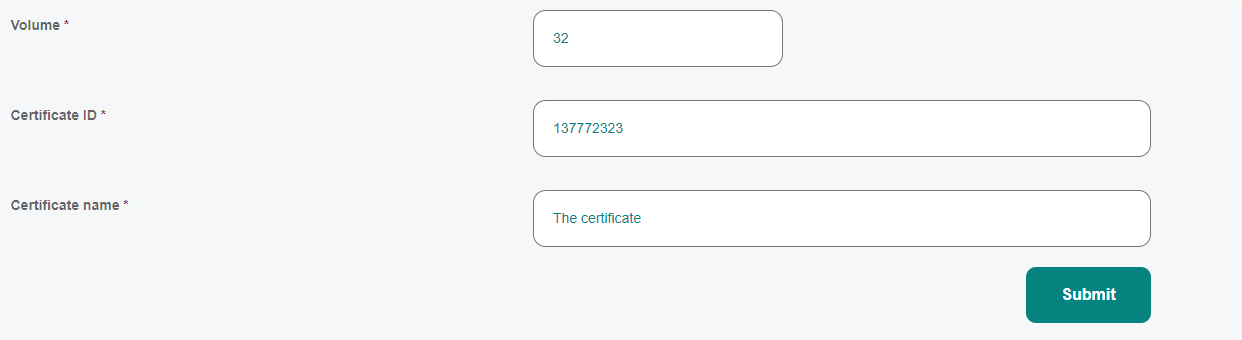
The first functionality for the end-user, after the company, account, users have been onboarded, is to create units. You can do this by going to the "Holdings Page" and pay attention to the top right corner with the "Issue Unit" Functionality
You can define the certificate in the most basic form at this stage, with more configuration available in the near future
Transfer Unit
The transfer functionality allows you to move a unit from one account to another. You need to select an account for the transfer to happen and the volume of units. Once you have confirmed the transfer the units will show in the "holdings tab" of the other account.
Split Unit
If you wish to break down the unit into smaller units, you can use the split functionality. For example, if you have 30 units, you can split them into 15 units and 15 units on two blocks.
Claim (Retire) Unit
The "Claim" functionality allows for the certificate to be taken out of circulation, as the information from it will be used further to be reported (eg. the sustainability report of the company that had the certificate on the platform).
Export Unit
The export functionality allows the user to get the data from the unit, from the platform to a CSV file. The file can then be used further for sustainability purposes or the data can be integrate onto a different company report.
Holdings Tabs:
There are three holdings tabs:
Current: shows active units (that can still circulate, or that other actions can be performed on them)
Pending: any issuance, transfer or other process that requires a bigger number of signatures (more participants involved) will be shown here
History: past data about units will be shown here, such as issuances, retirements etc.
This is the project to enable the creation of certificates on the platform based on your specifications
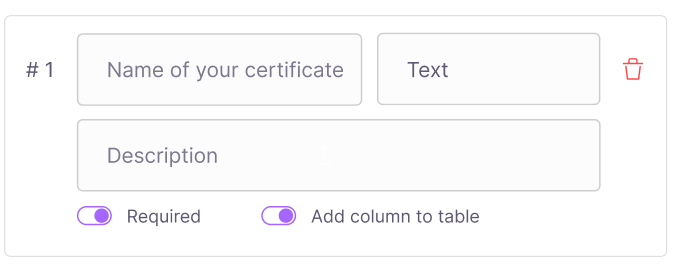
For starters, there are 20 fields available to be used. There are some which are predetermined, and predefined and some which are user-generated. So let's dive into each of them:
Name the certificate: Naming your certificate is the first process. The name is a "text" field which will stay the same on the platform for all certificates (Editing your registries is on our current roadmap)
Date of issuance: the last predefined field, it is given by the system to asses the date that the issuance occurred. It is very useful to see which certificates have been issued more recently or not.
There are 17 more fields which you can create, with the following types: string/text/number/date/email/upload file.
Each of the 20 fields has an extra box for description.
You can also define if the field in the end will be "required" or not by triggering the boolean value.
Also, there are 4 values that can be part of the "Table". Which means that they will be shown front and centre on the table. The rest will be displayed only on the unit.
Once you are logged in to Launchpad, you will be able to us GPSaaS to set up your Green Proofs registry. To do so, follow the steps below.
Before you can create a new registry, you will need a subscription. To Subscribe to Green Proofs on Launchpad, you need to get in touch with the Energy Web team and receive a customized offer that fits your needs.
To create a GPSaaS supported registry, select "Create New" under Green Proofs in the left hand menu.
This will open the creation form.
The first step under the Master Configurations is to enter your Registry's general details:
Create a name for your registry
Provide a small description of it
Generate your subdomain
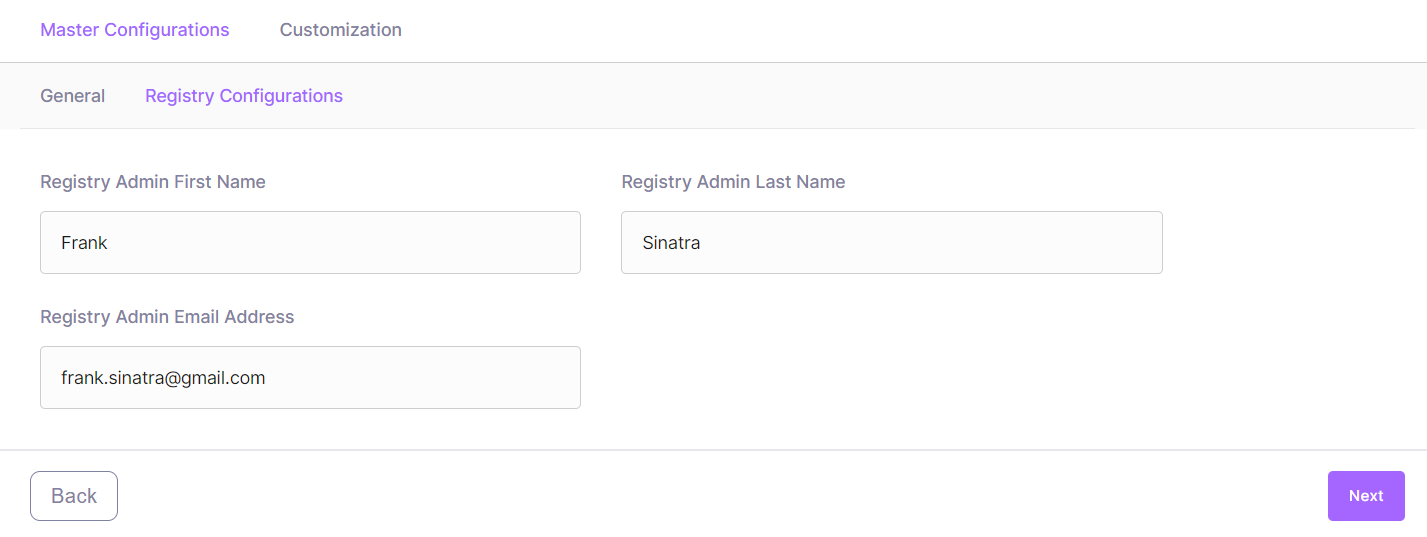
The next step contains the Registry Configurations.
It allows you to designate someone to be your registry admin, the first person who will administer the platform and use the registry in the beginning.
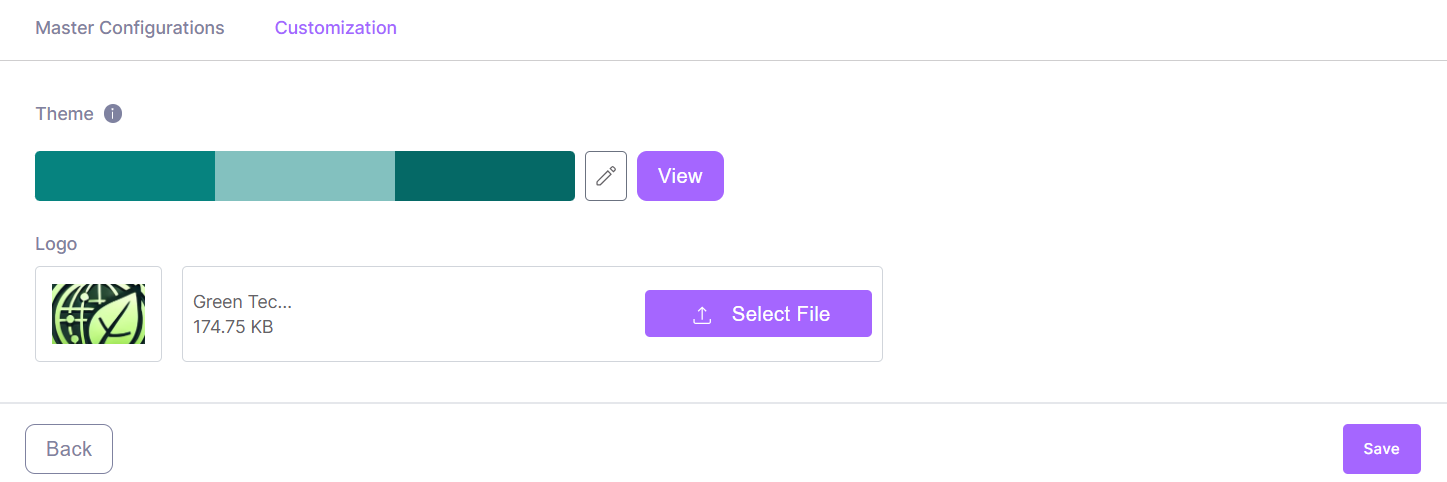
The last step is the customization layer
It involves adding and changing your colour theme and providing a logo for the platform, which will be displayed on the registry once it's been launched.
When you are ready, you can save your progress with the "Save" button. Your registry is now saved as a Draft. You can keep your registry as a Draft as long as you need. In this case, it will show as draft in the "Manage" menu. You can go back to editing your draft at any point.
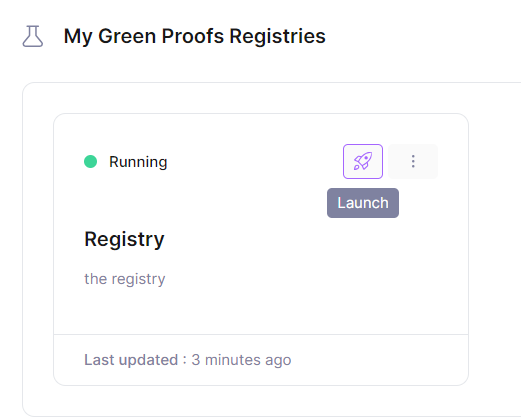
Once you are set on the customization, you can Deploy your registry. It will take a few minutes for your registry to be deployed and running. .
The notifications will keep you informed of all status changes for your registries.
You can view all draft and deployed registries in "Manage" under Green Proofs in the left hand menu.
Once your registry is deployed and running, you will be able to click on the "Launch" button and dive into your newly created registry. See the next section to understand the functionalities you can take advantage of.
You can delete registries at any point as long as their status is not "In Progress". To delete a registry, click the 3 dots menu on the registry you want to delete and select "Delete". You will be asked for confirmation.
Dashboard
As a Registry Admin, you can have multiple invite people on the platform based on what type of user do you want on the platform.
Add a user to the company: this allows the Registry Admin to create a user from scratch for the company that he has selected. (In this case, the user only needs to log in afterwards with the email)
Invite user to account: this provides an invitation for a user to sign up and be assigned to an existed account on the platform
Invite user to company: Adds an existing user or a new user (that needs to onboard) to become the company representative of that company
Add user to account: Adds an existing user or a new user (that needs to onboard) as an account representative for an account that we choose.
Invite registry admin: Invites another user to become the registry admin as well.
In the top left corner, when you click on the 3 dots, you can also "edit" and "delete" a company as long as it is not the Registry Admin company.
Companies
You can create a new company by pressing the "create a company" button on the top right corner. . After creating a new company, you will need to asign user to it and at least a Company Representative, using the functionalities from the "Dashboard", which are detailed above.
Accounts
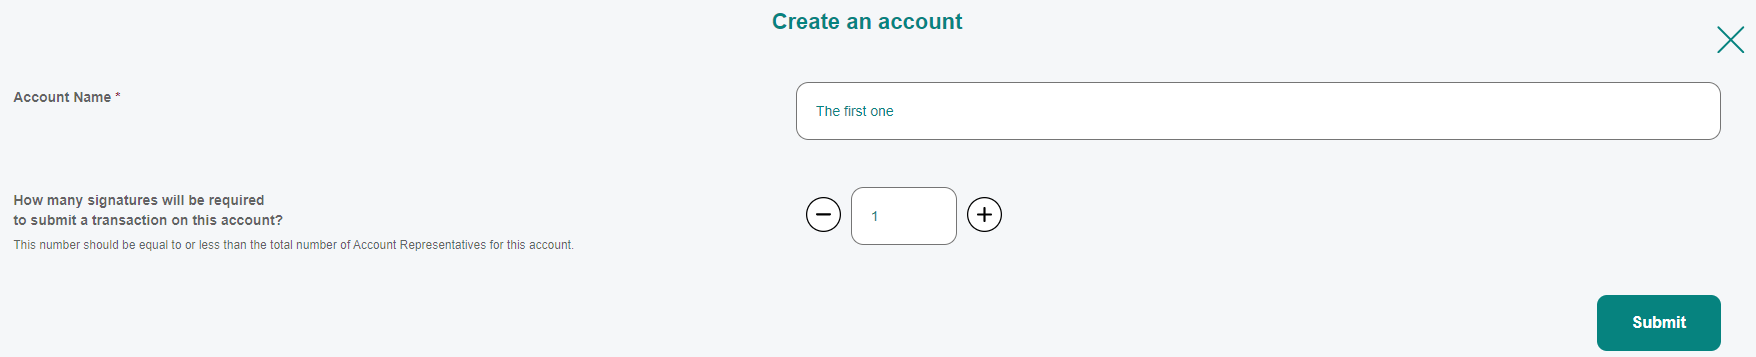
Every company needs to have at least one account. This can have multiple forms and various access to data and functionalities, but for now you can only create one type of account with no restrictions.
The account creation allows you to determine the amount of Account Representatives required for the processes from the platform.