This is the project to enable the creation of certificates on the platform based on your specifications
For starters, there are 20 fields available to be used. There are some which are predetermined, and predefined and some which are user-generated. So let's dive into each of them:
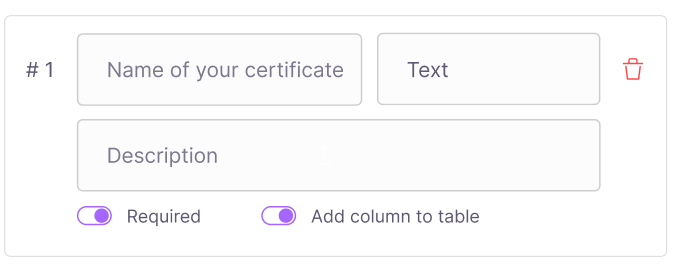
Name the certificate: Naming your certificate is the first process. The name is a "text" field which will stay the same on the platform for all certificates (Editing your registries is on our current roadmap)
The ID number: this is a predefined field, which the system provides for each creation (issuance) of a certificate to give it a unique identifier.
Date of issuance: the last predefined field, it is given by the system to asses the date that the issuance occurred. It is very useful to see which certificates have been issued more recently or not.
There are 17 more fields which you can create, with the following types: string/text/number/date/email/upload file.
Each of the 20 fields has an extra box for description.
You can also define if the field in the end will be "required" or not by triggering the boolean value.
Also, there are 4 values that can be part of the "Table". Which means that they will be shown front and centre on the table. The rest will be displayed only on the unit.
Once you are logged in to Launchpad, you will be able to us GPSaaS to set up your Green Proofs registry. To do so, follow the steps below.
Before you can create a new registry, you will need a subscription. To Subscribe to Green Proofs on Launchpad, you need to get in touch with the Energy Web team and receive a customized offer that fits your needs.
To create a GPSaaS supported registry, select "Create New" under Green Proofs in the left hand menu.
This will open the creation form.
The first step under the Master Configurations is to enter your Registry's general details:
Create a name for your registry
Provide a small description of it
Generate your subdomain
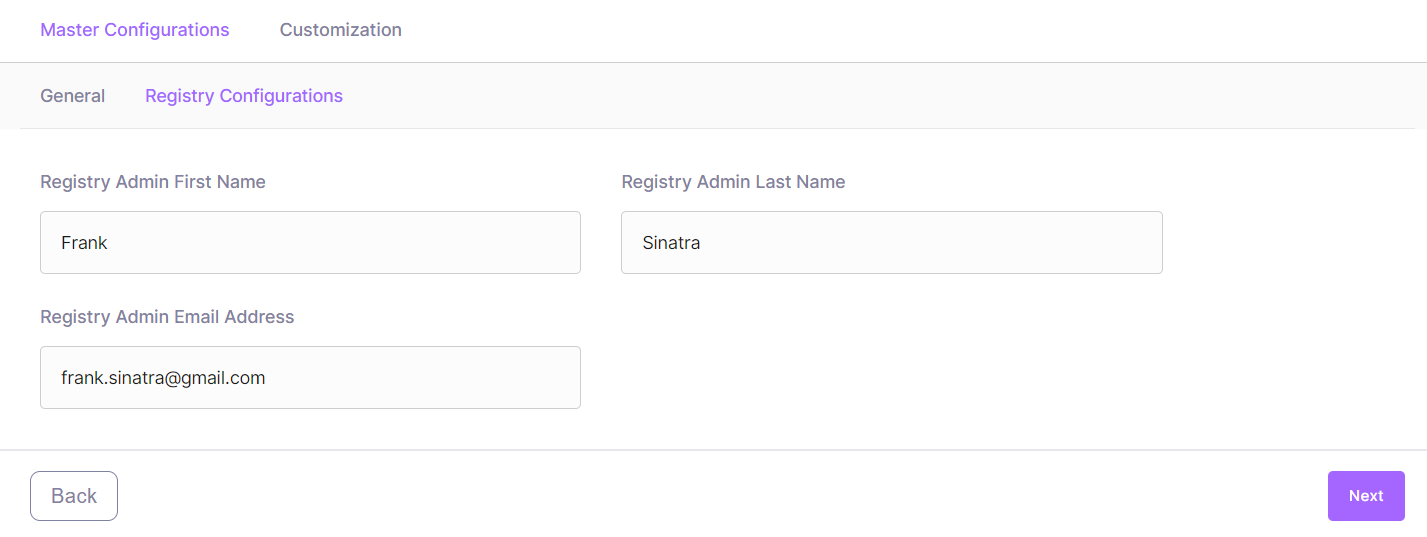
The next step contains the Registry Configurations.
It allows you to designate someone to be your registry admin, the first person who will administer the platform and use the registry in the beginning.
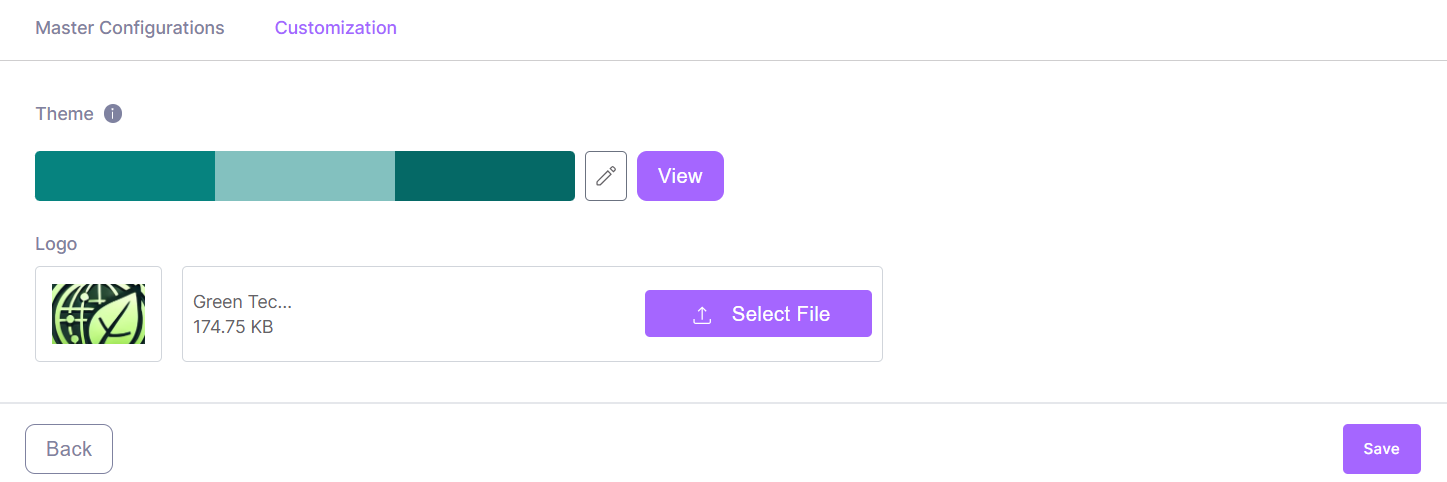
The last step is the customization layer
It involves adding and changing your colour theme and providing a logo for the platform, which will be displayed on the registry once it's been launched.
When you are ready, you can save your progress with the "Save" button. Your registry is now saved as a Draft. You can keep your registry as a Draft as long as you need. In this case, it will show as draft in the "Manage" menu. You can go back to editing your draft at any point.
Once you are set on the customization, you can Deploy your registry. It will take a few minutes for your registry to be deployed and running. .
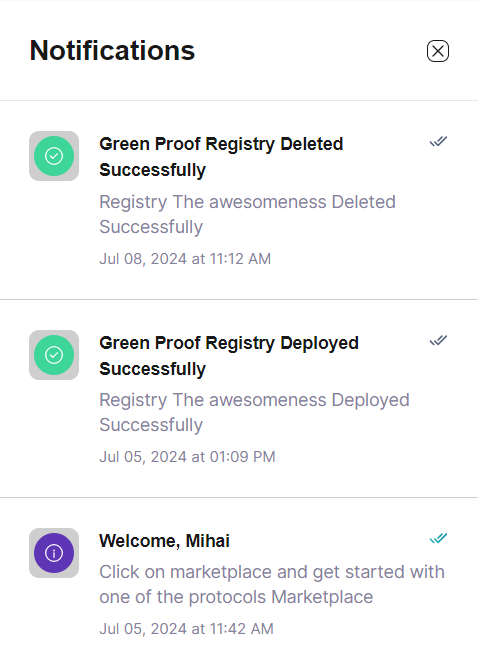
The notifications will keep you informed of all status changes for your registries.
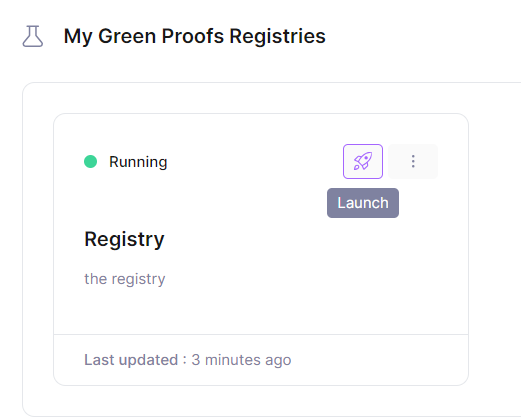
You can view all draft and deployed registries in "Manage" under Green Proofs in the left hand menu.
Once your registry is deployed and running, you will be able to click on the "Launch" button and dive into your newly created registry. See the next section to understand the functionalities you can take advantage of.
You can delete registries at any point as long as their status is not "In Progress". To delete a registry, click the 3 dots menu on the registry you want to delete and select "Delete". You will be asked for confirmation.